
It’s time to go back to the Python code in a big way. Today is all about building out each of the screens by “faking” them.
Fake Designs Explained
Back in 2009 I went to Apple’s annual WWDC event. At the event there was a session on rapid prototyping an iPhone app. The presenter showed a cool trick to get a real feeling app working fast. They would “fake” the screens.
What this meant was a clever use of clickable images that looked like app interactions. With a little bit of basic image editing and a small amount of time in interface builder, you could put together a quick working build of an iPhone app. It wasn’t enough to publish to the store, but for figuring out look and feel it was brilliant.
Ever since then I’ve taken this approach to building software prototypes. I don’t build out all the functionality right away. Instead I create real looking screens I can interact with first. But, I skip out on building all the complex functionality underneath.
The Wisdom Of Starting Ugly
This is a good time to explain a related concept - starting ugly. Starting ugly is a related approach to building software. The idea is to throw something together fast that is intentionally ugly and messy.
Starting ugly allows you to move fast right away which lets you build momentum. But the ugly part is key because it allows you to throw away your work.
Wait, why would you want to throw away your work? With your first version you don’t know anything yet. You learn a lot as you build the software. Starting ugly lets you learn fast and change things as you go because you aren’t afraid to throw away your work.
Today we are using both concepts - faking the screens and starting ugly to build out the next part of our daily journal program.
Let’s Build Some Fake Screens!
We are going to use print statements to fake each screen. For each screen I’ll show you the original design, the code to make it work, and the output. After each screen is complete we will comment out the code using the # character at the beginning of each line so they won’t run.
This will allow us to run just one screen at a time.
Commented code example:

So, follow along with each screen. If this is unclear watch the video above to see exactly what I mean.
Newline Character
You will also notice I’m adding a \n into some of the output strings. That is a newline character. It is used to add a new line to the output of our program.
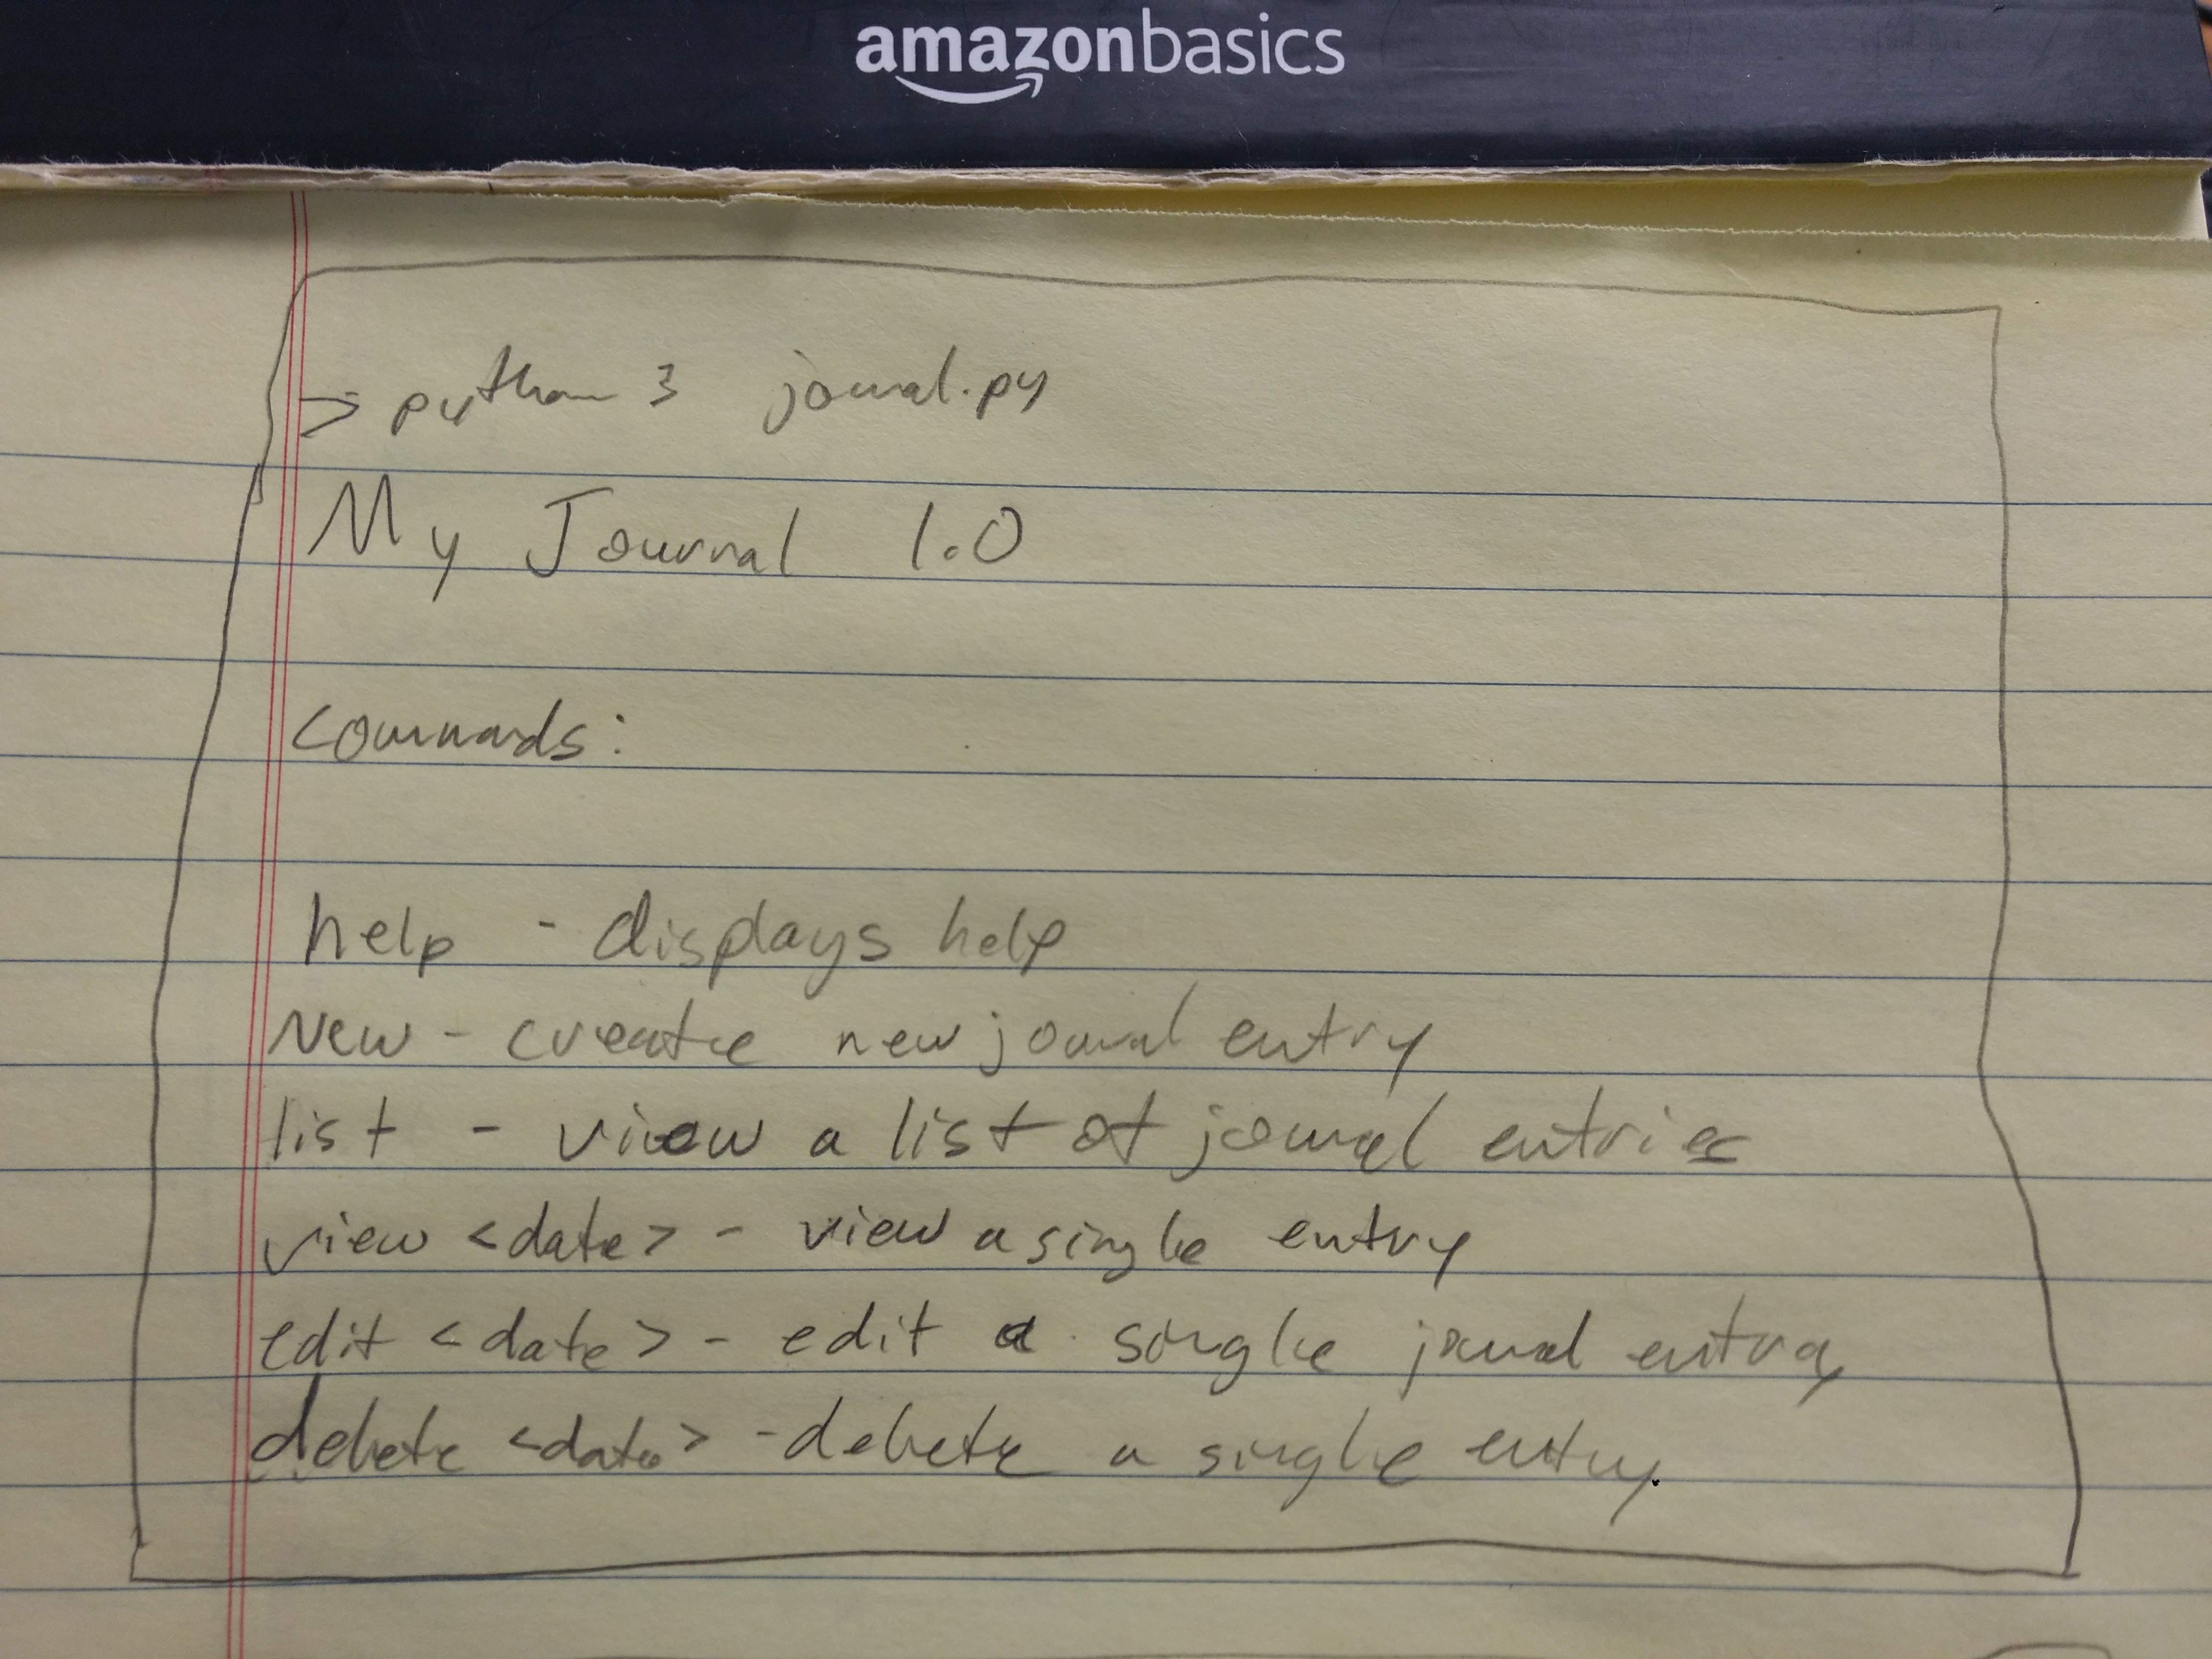
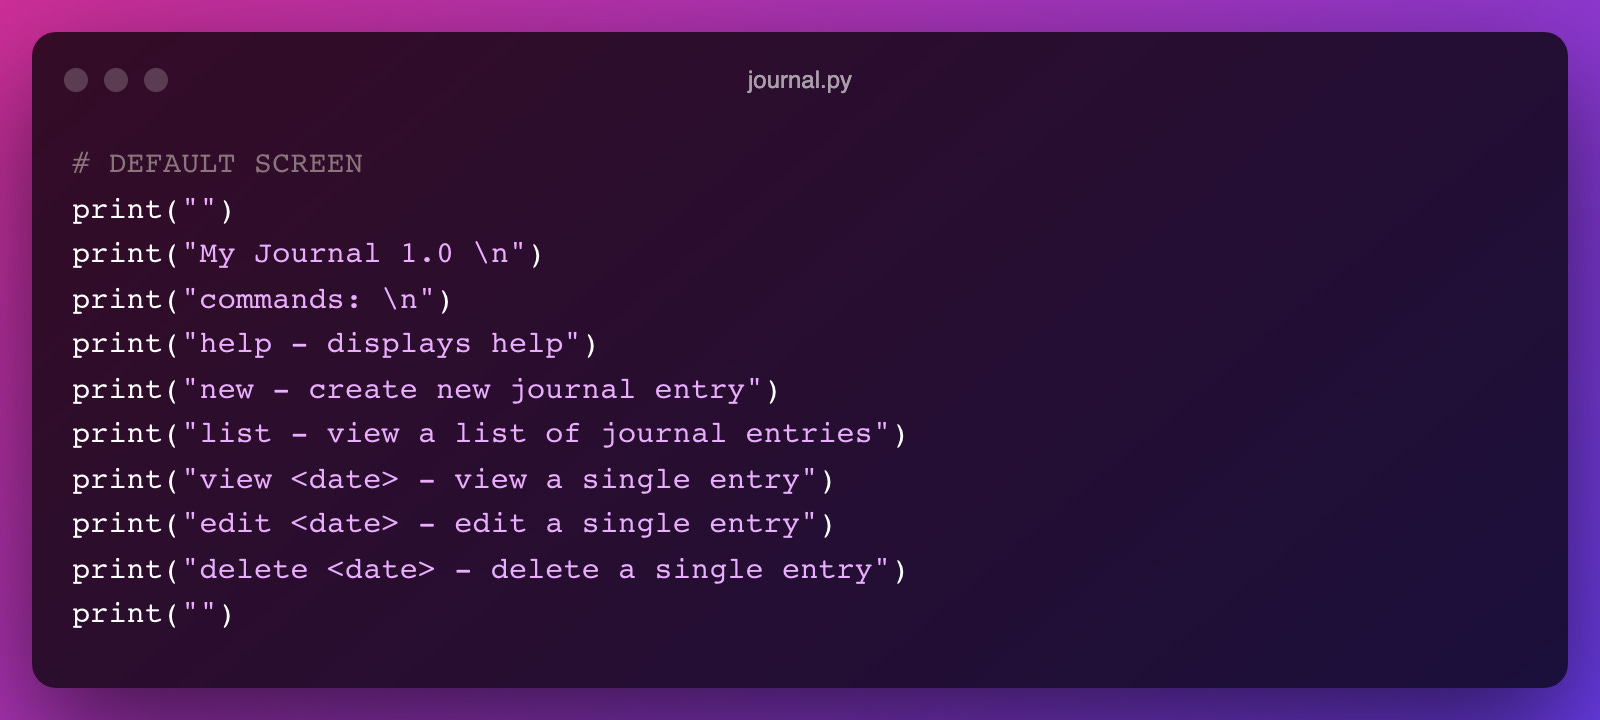
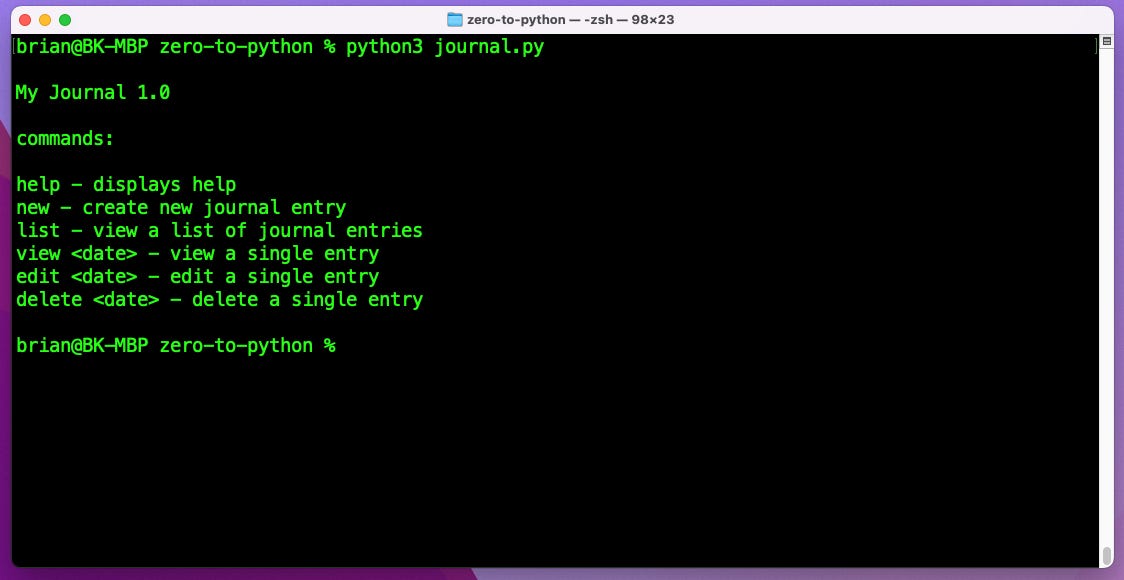
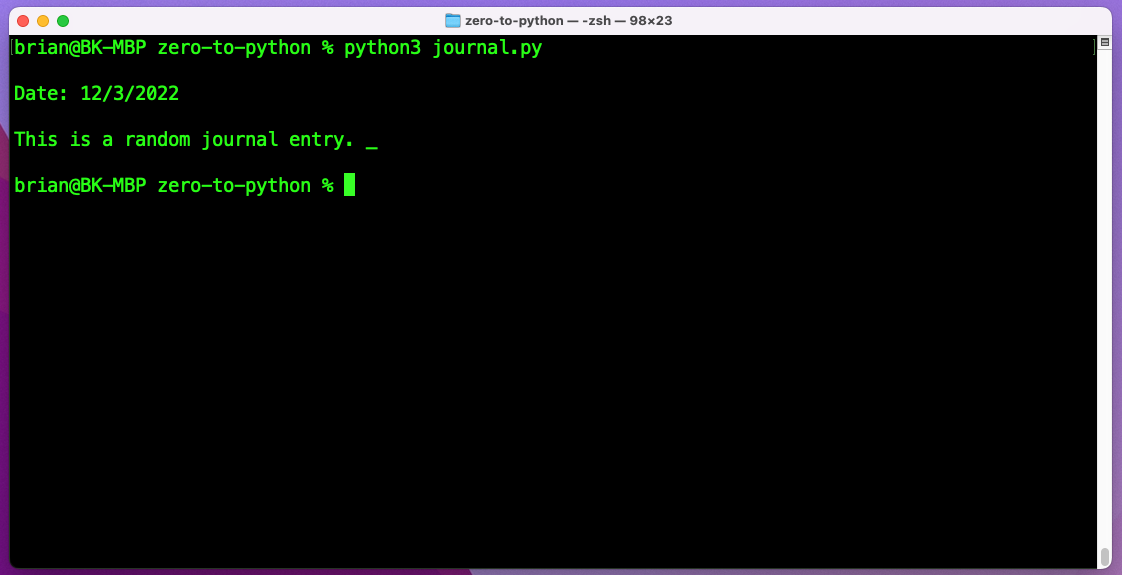
Default Screen
Design:
Code:
Output:
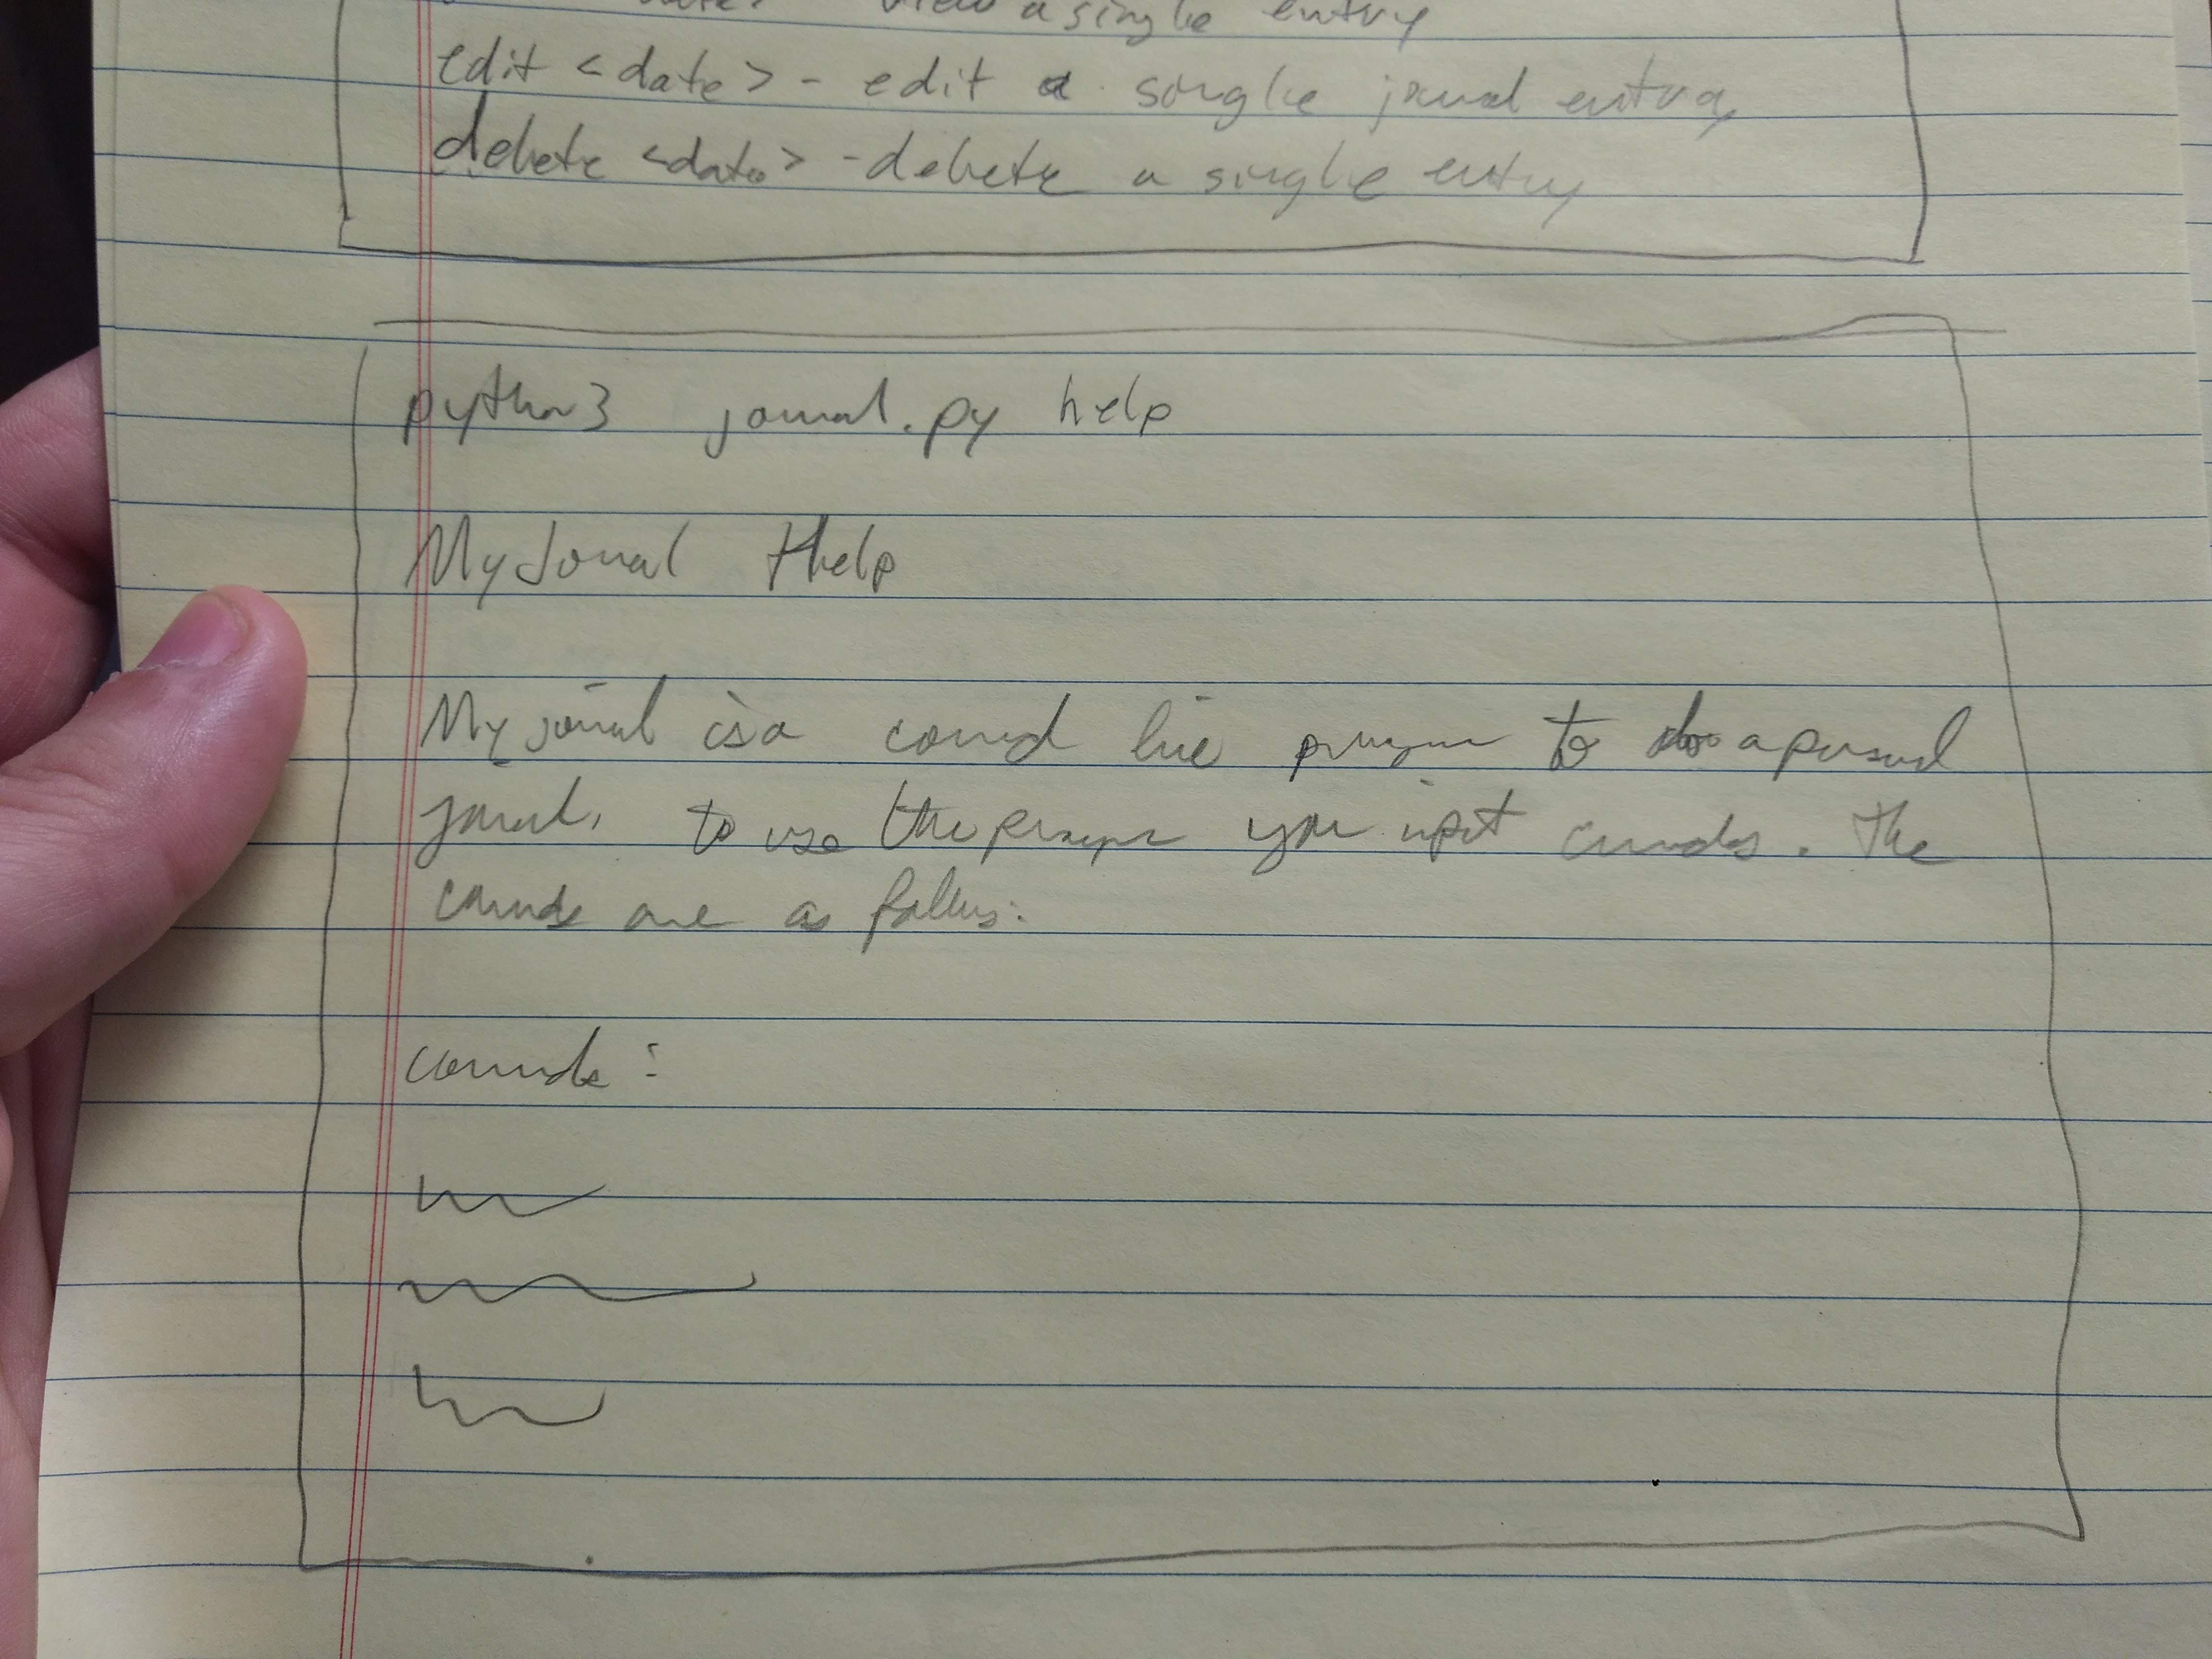
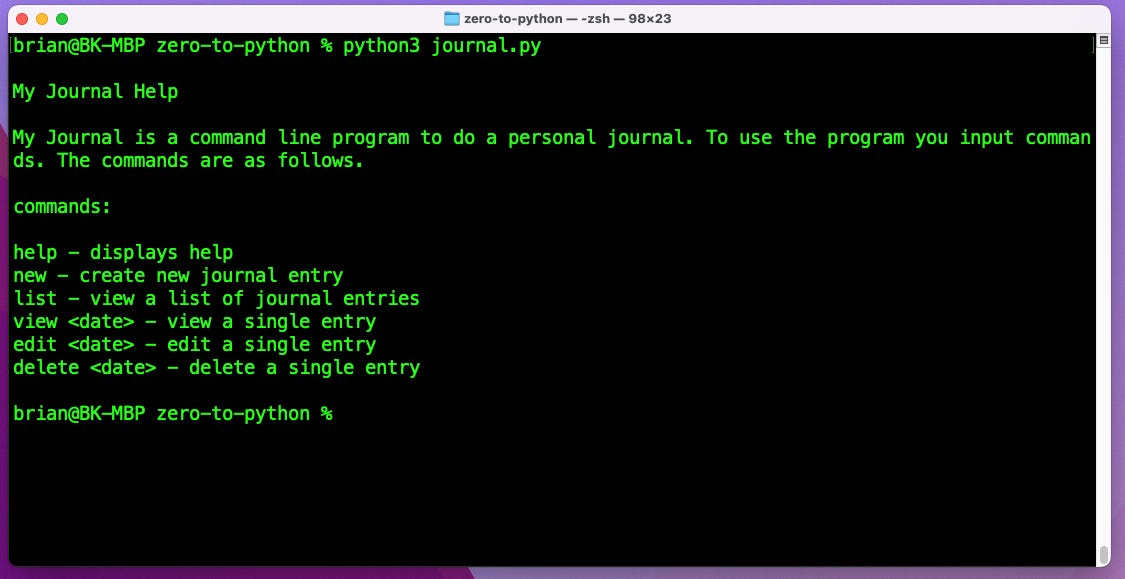
Help Screen
Design:
Code:
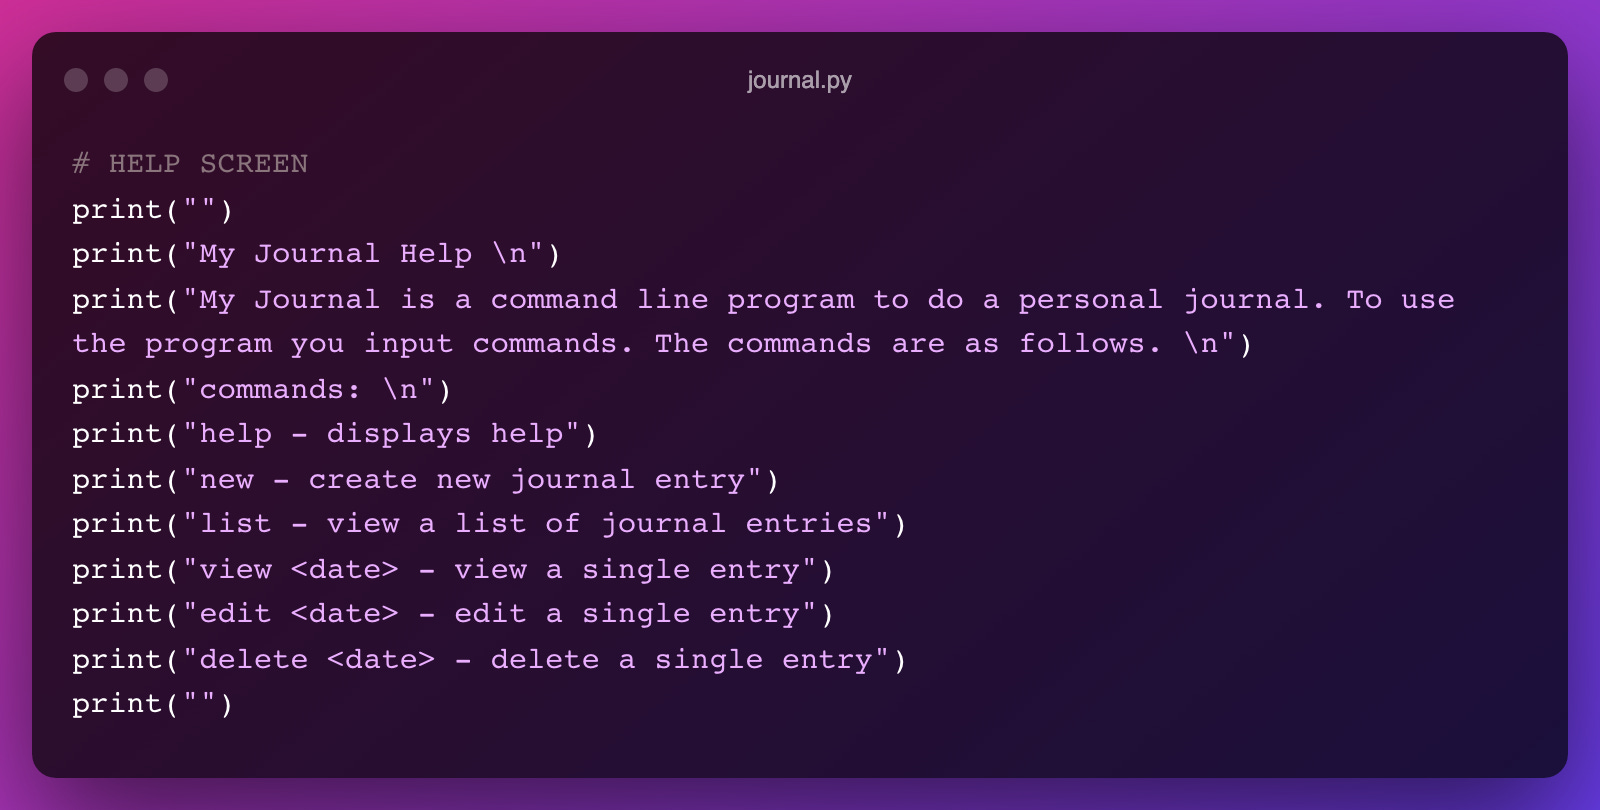
Output:
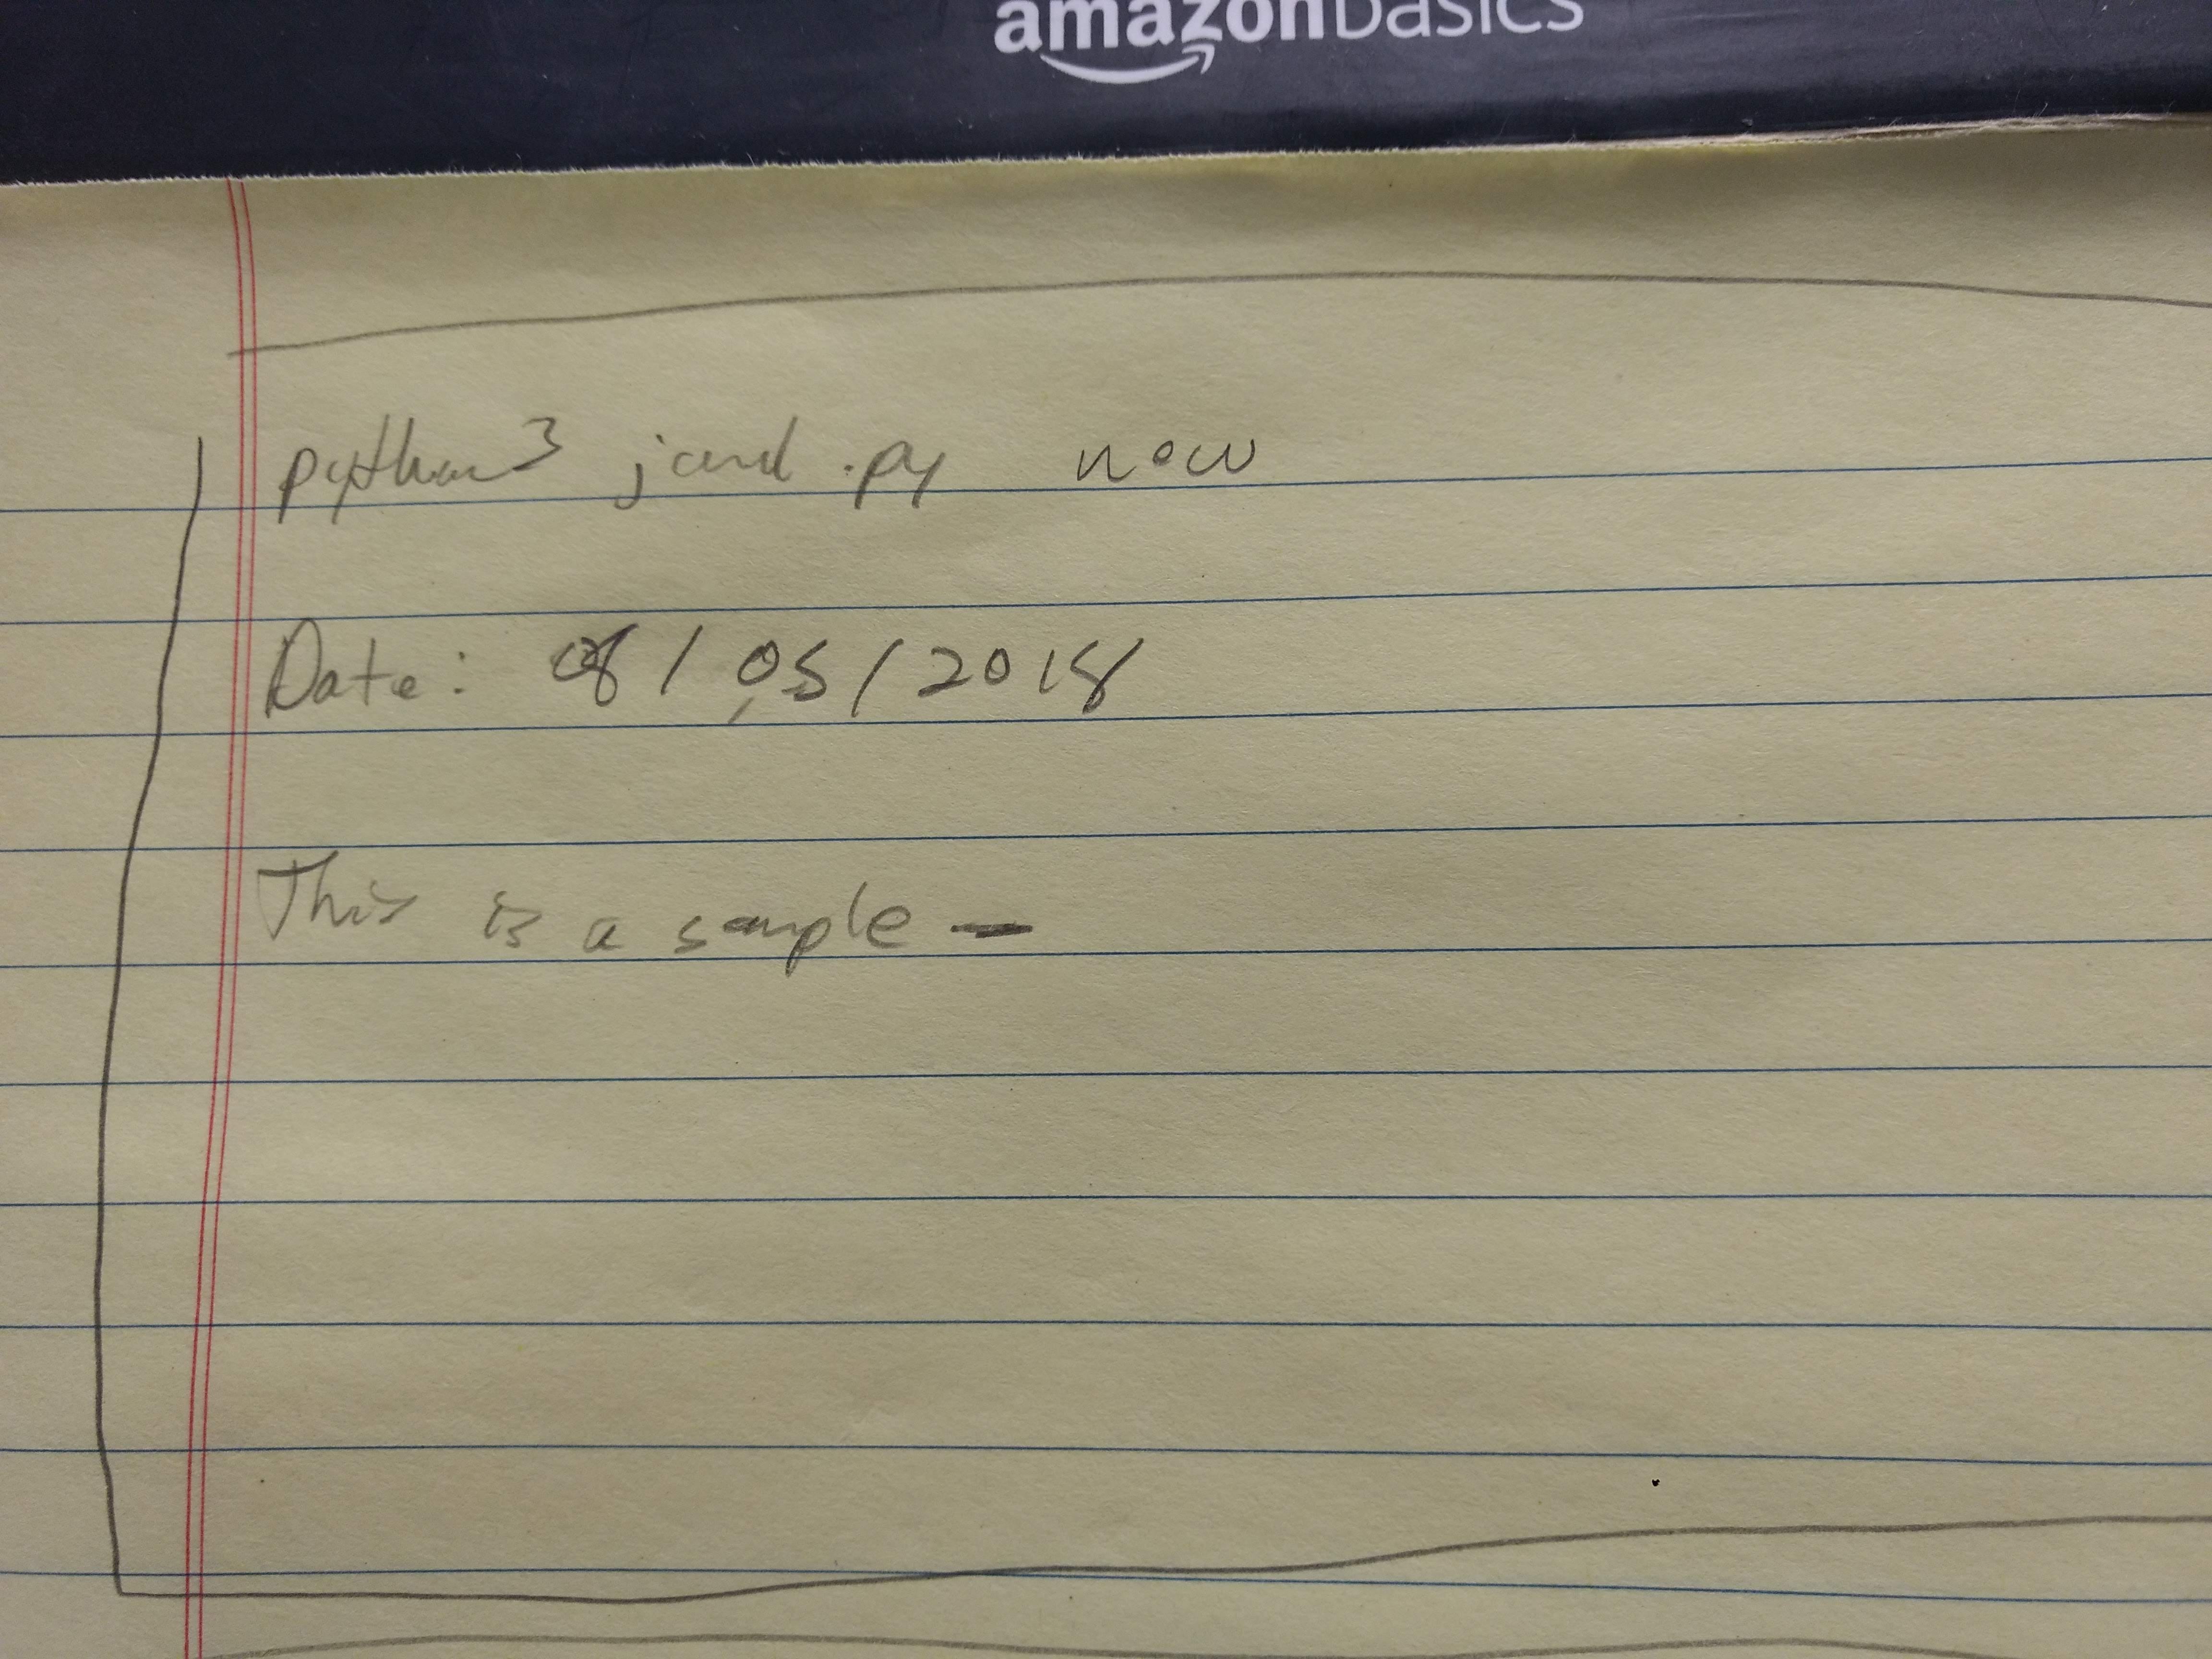
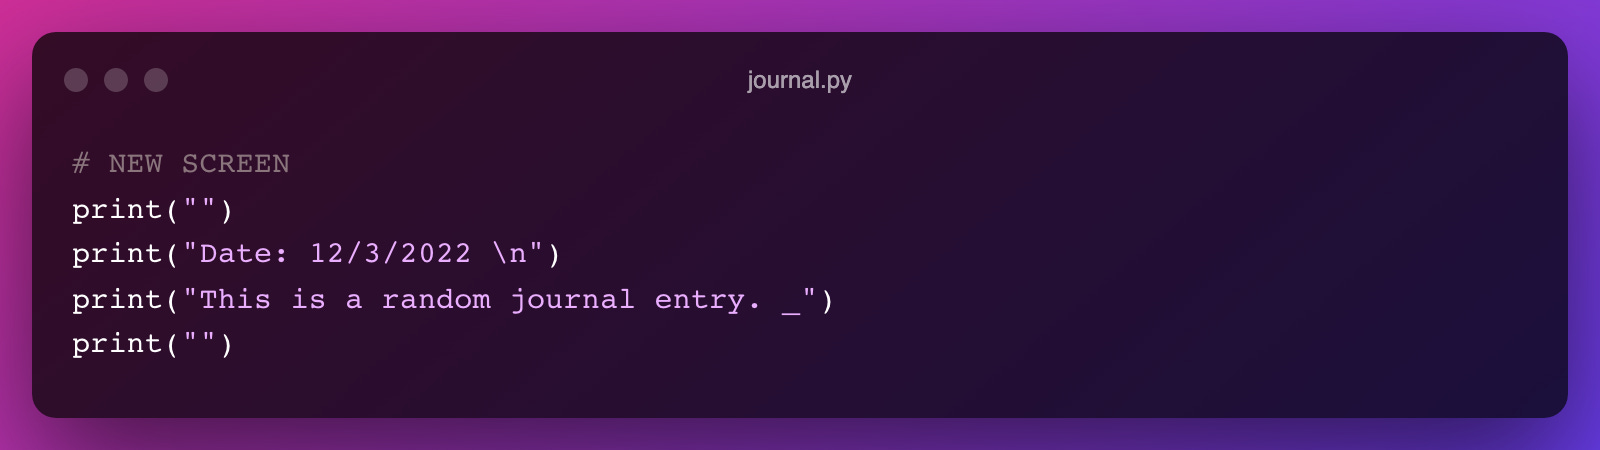
New Screen
Design:
Code:
Output:
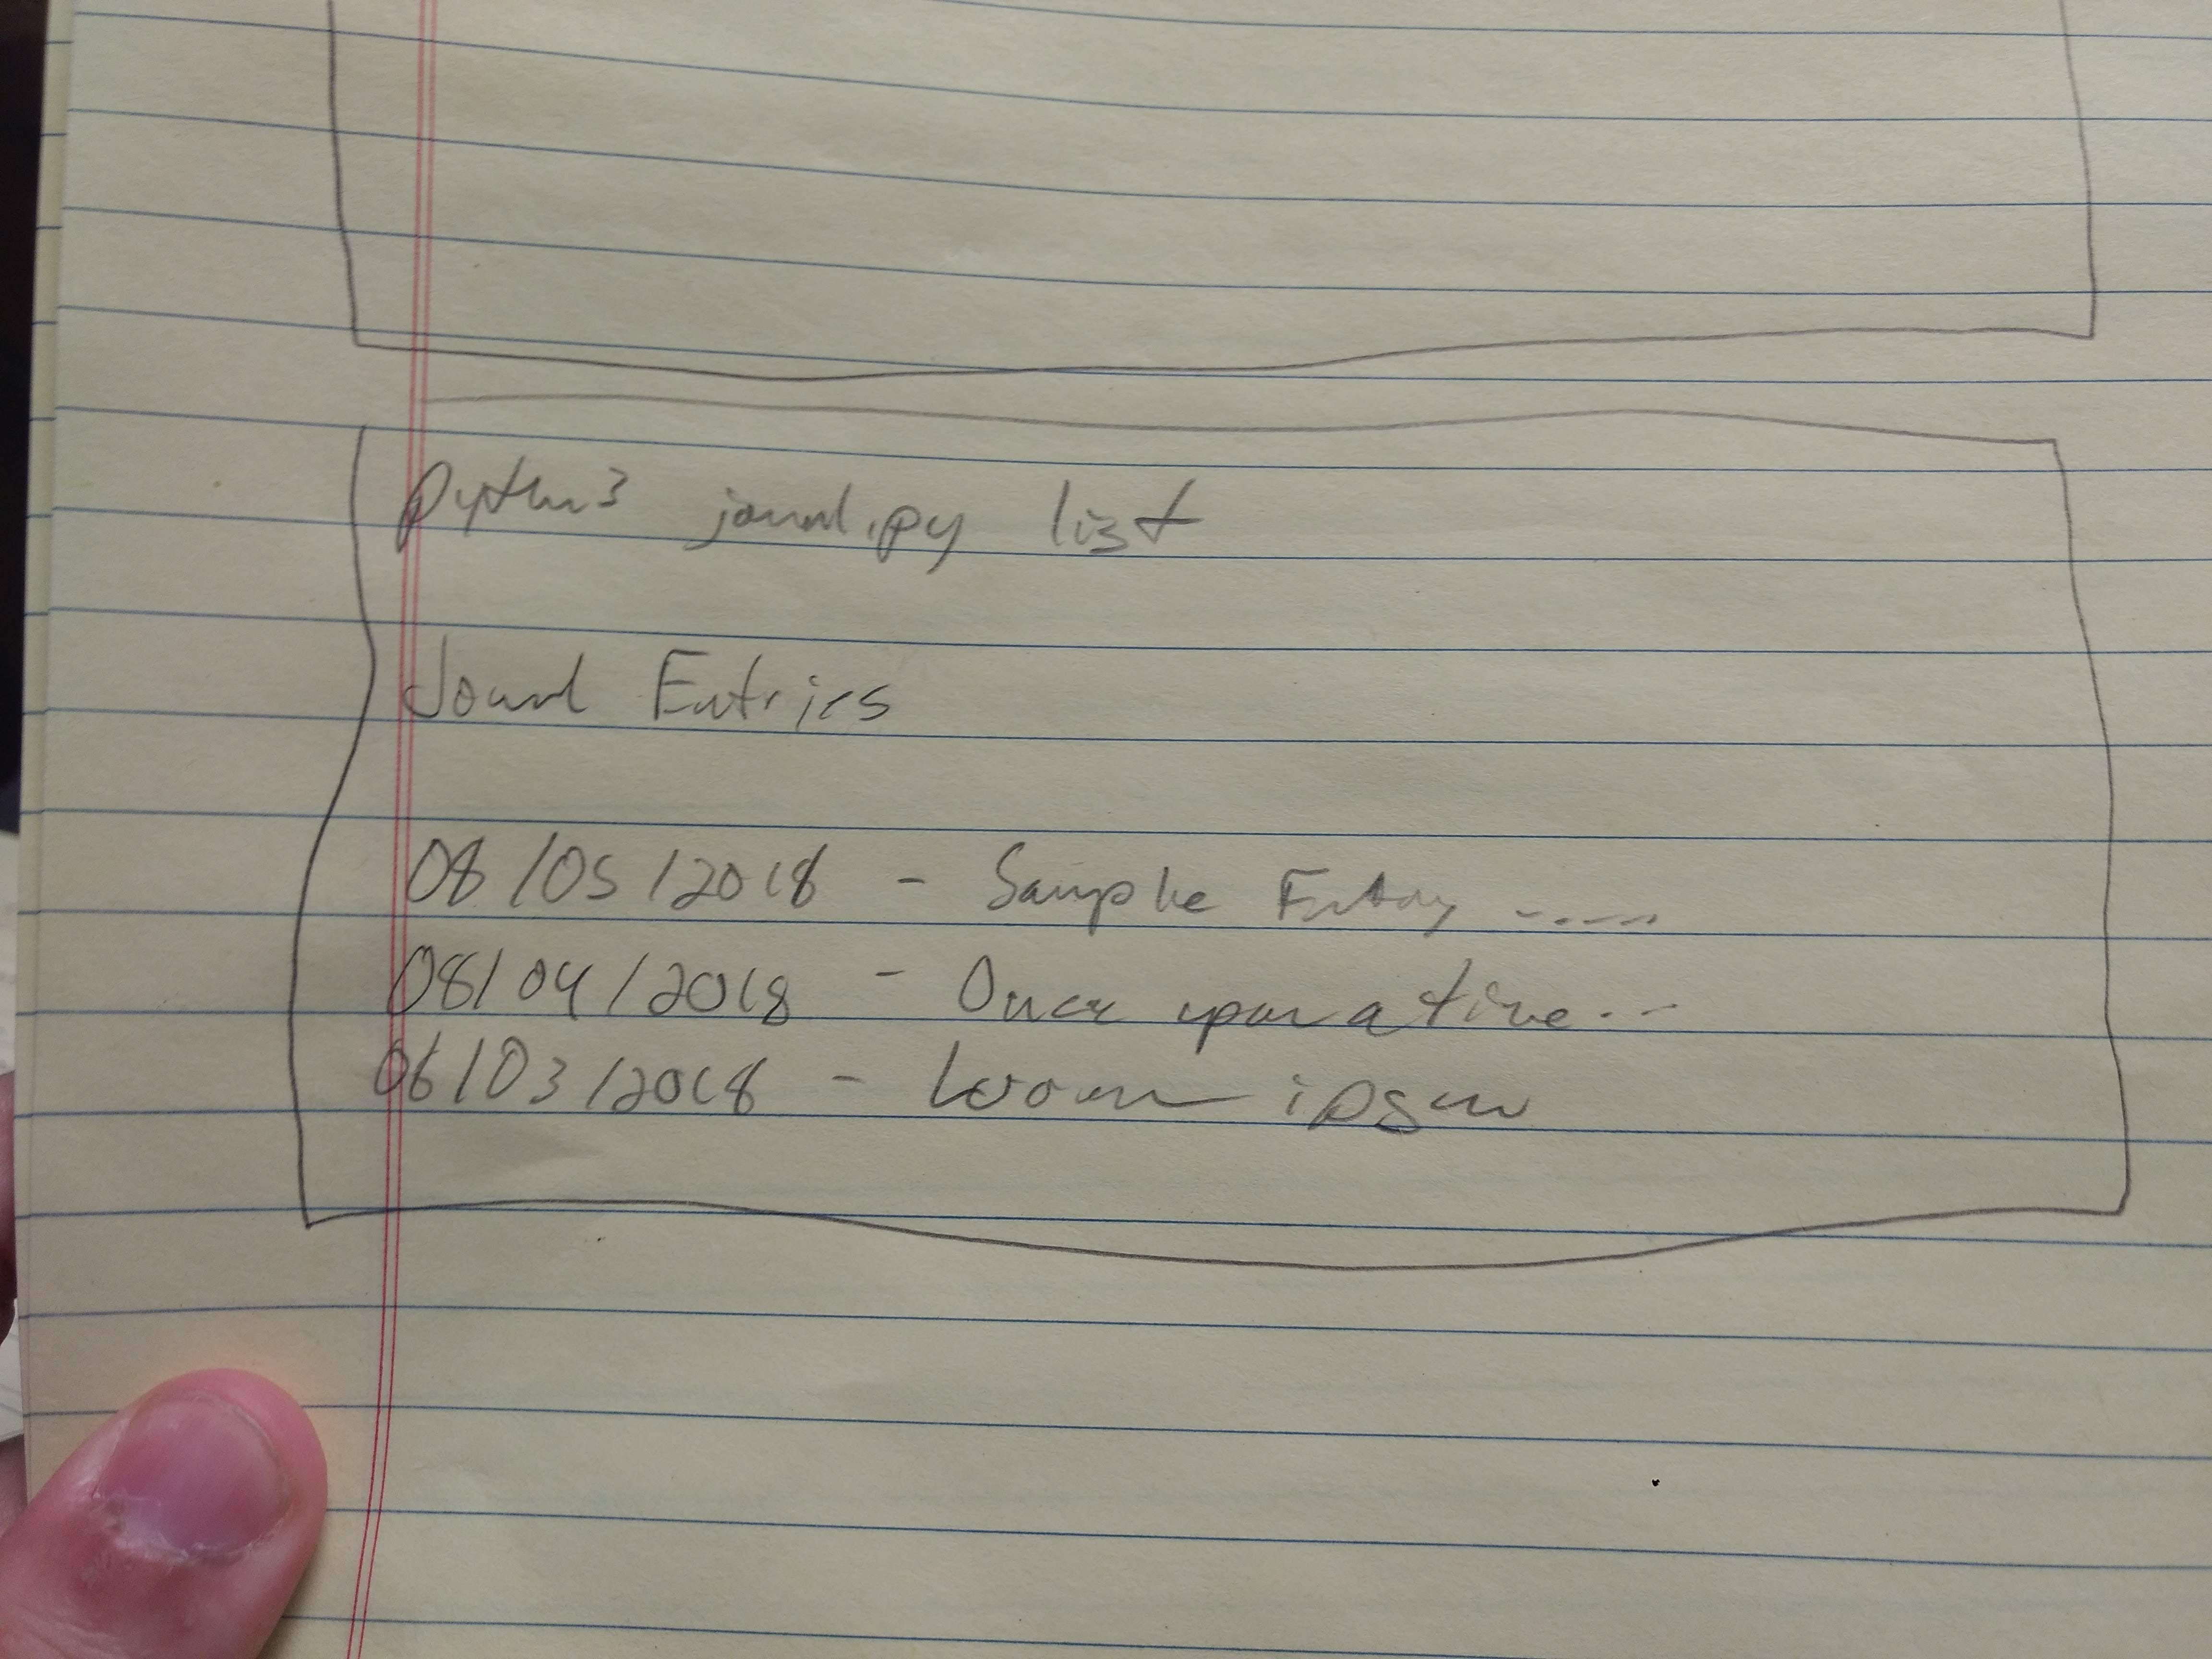
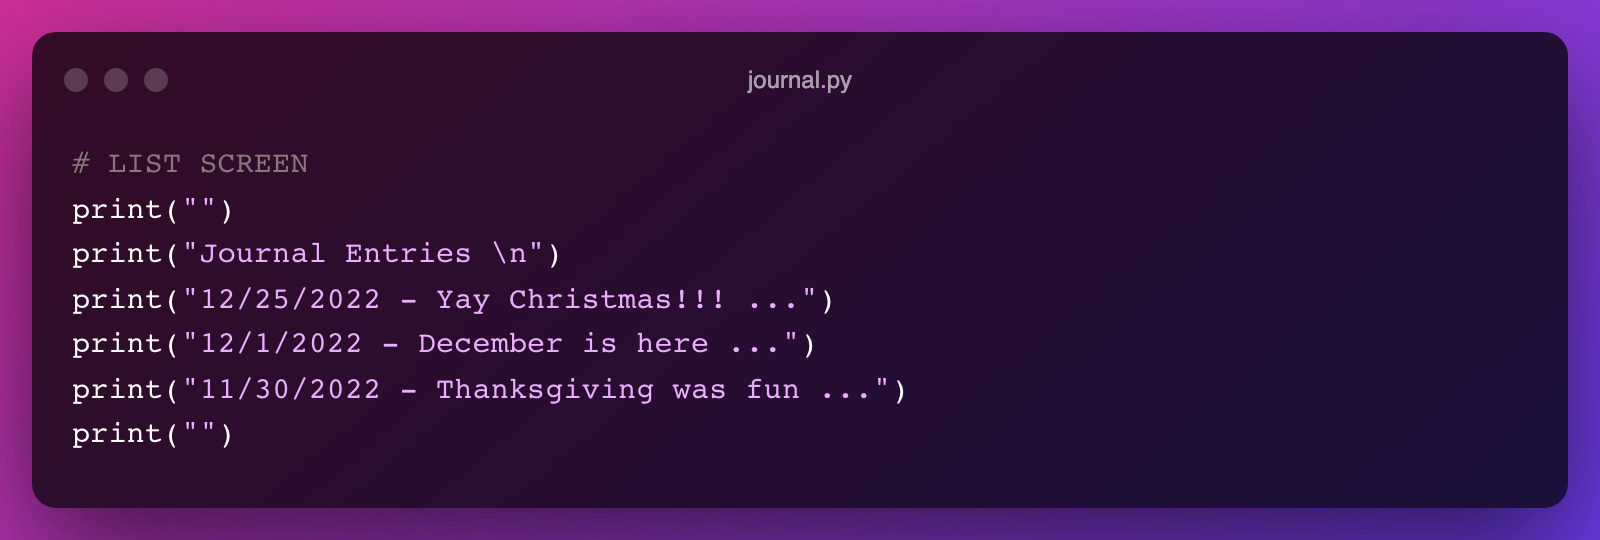
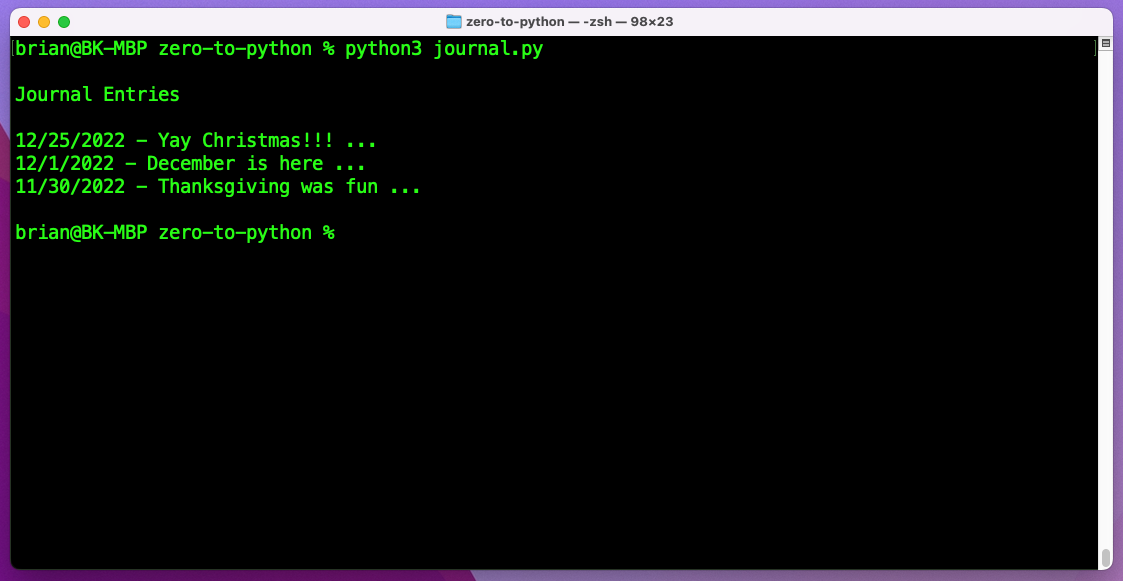
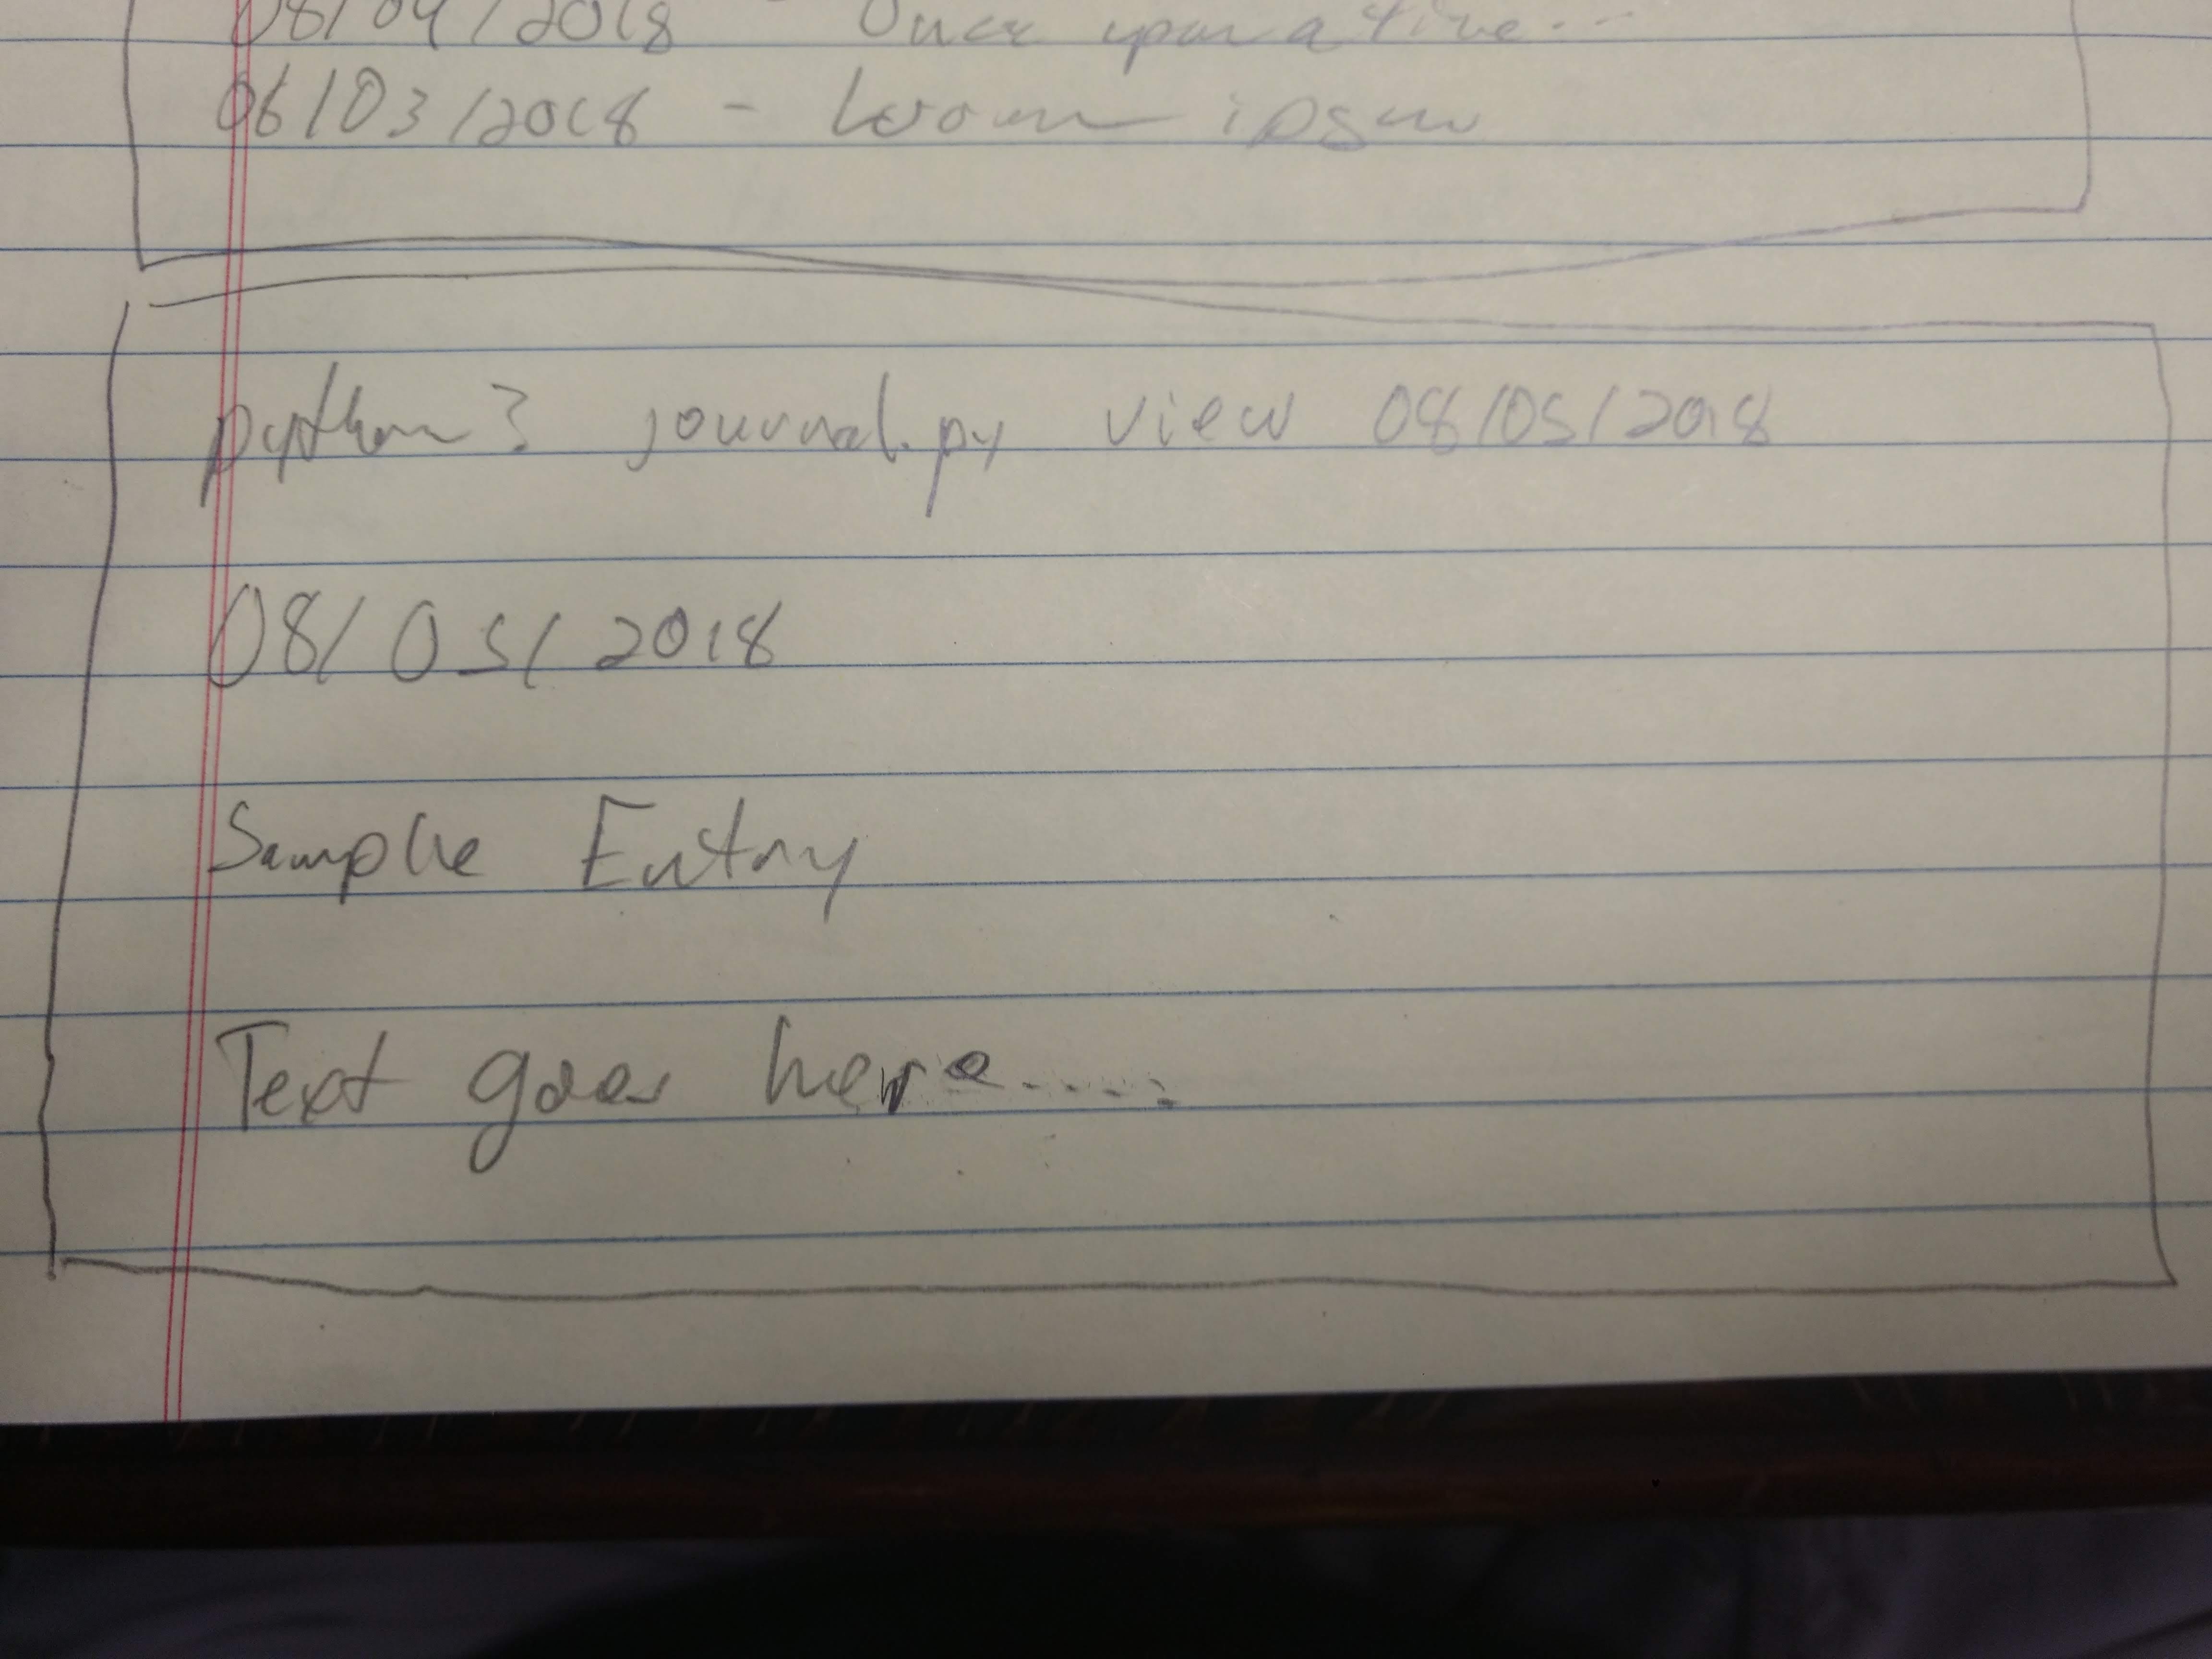
List Screen
Design:
Code:
Output:
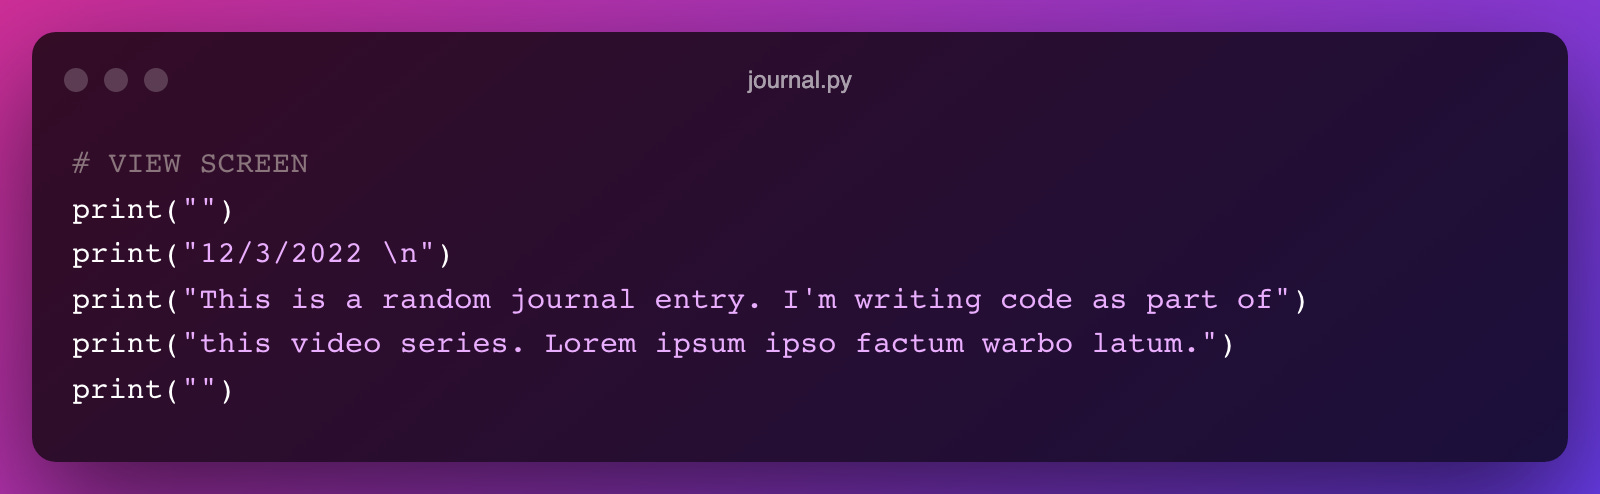
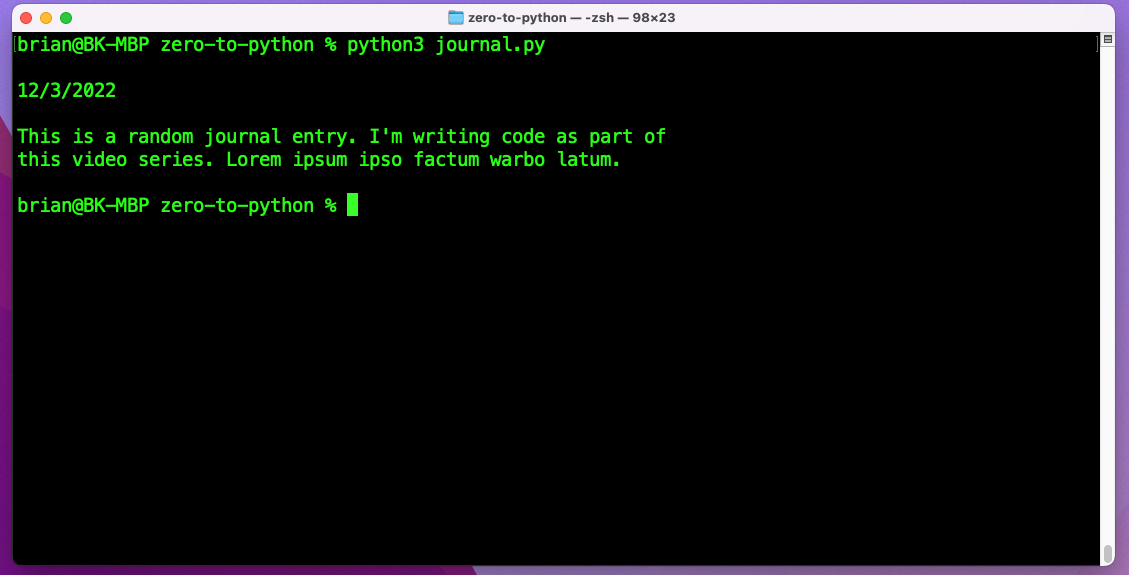
View Screen
Design:
Code:
Output:
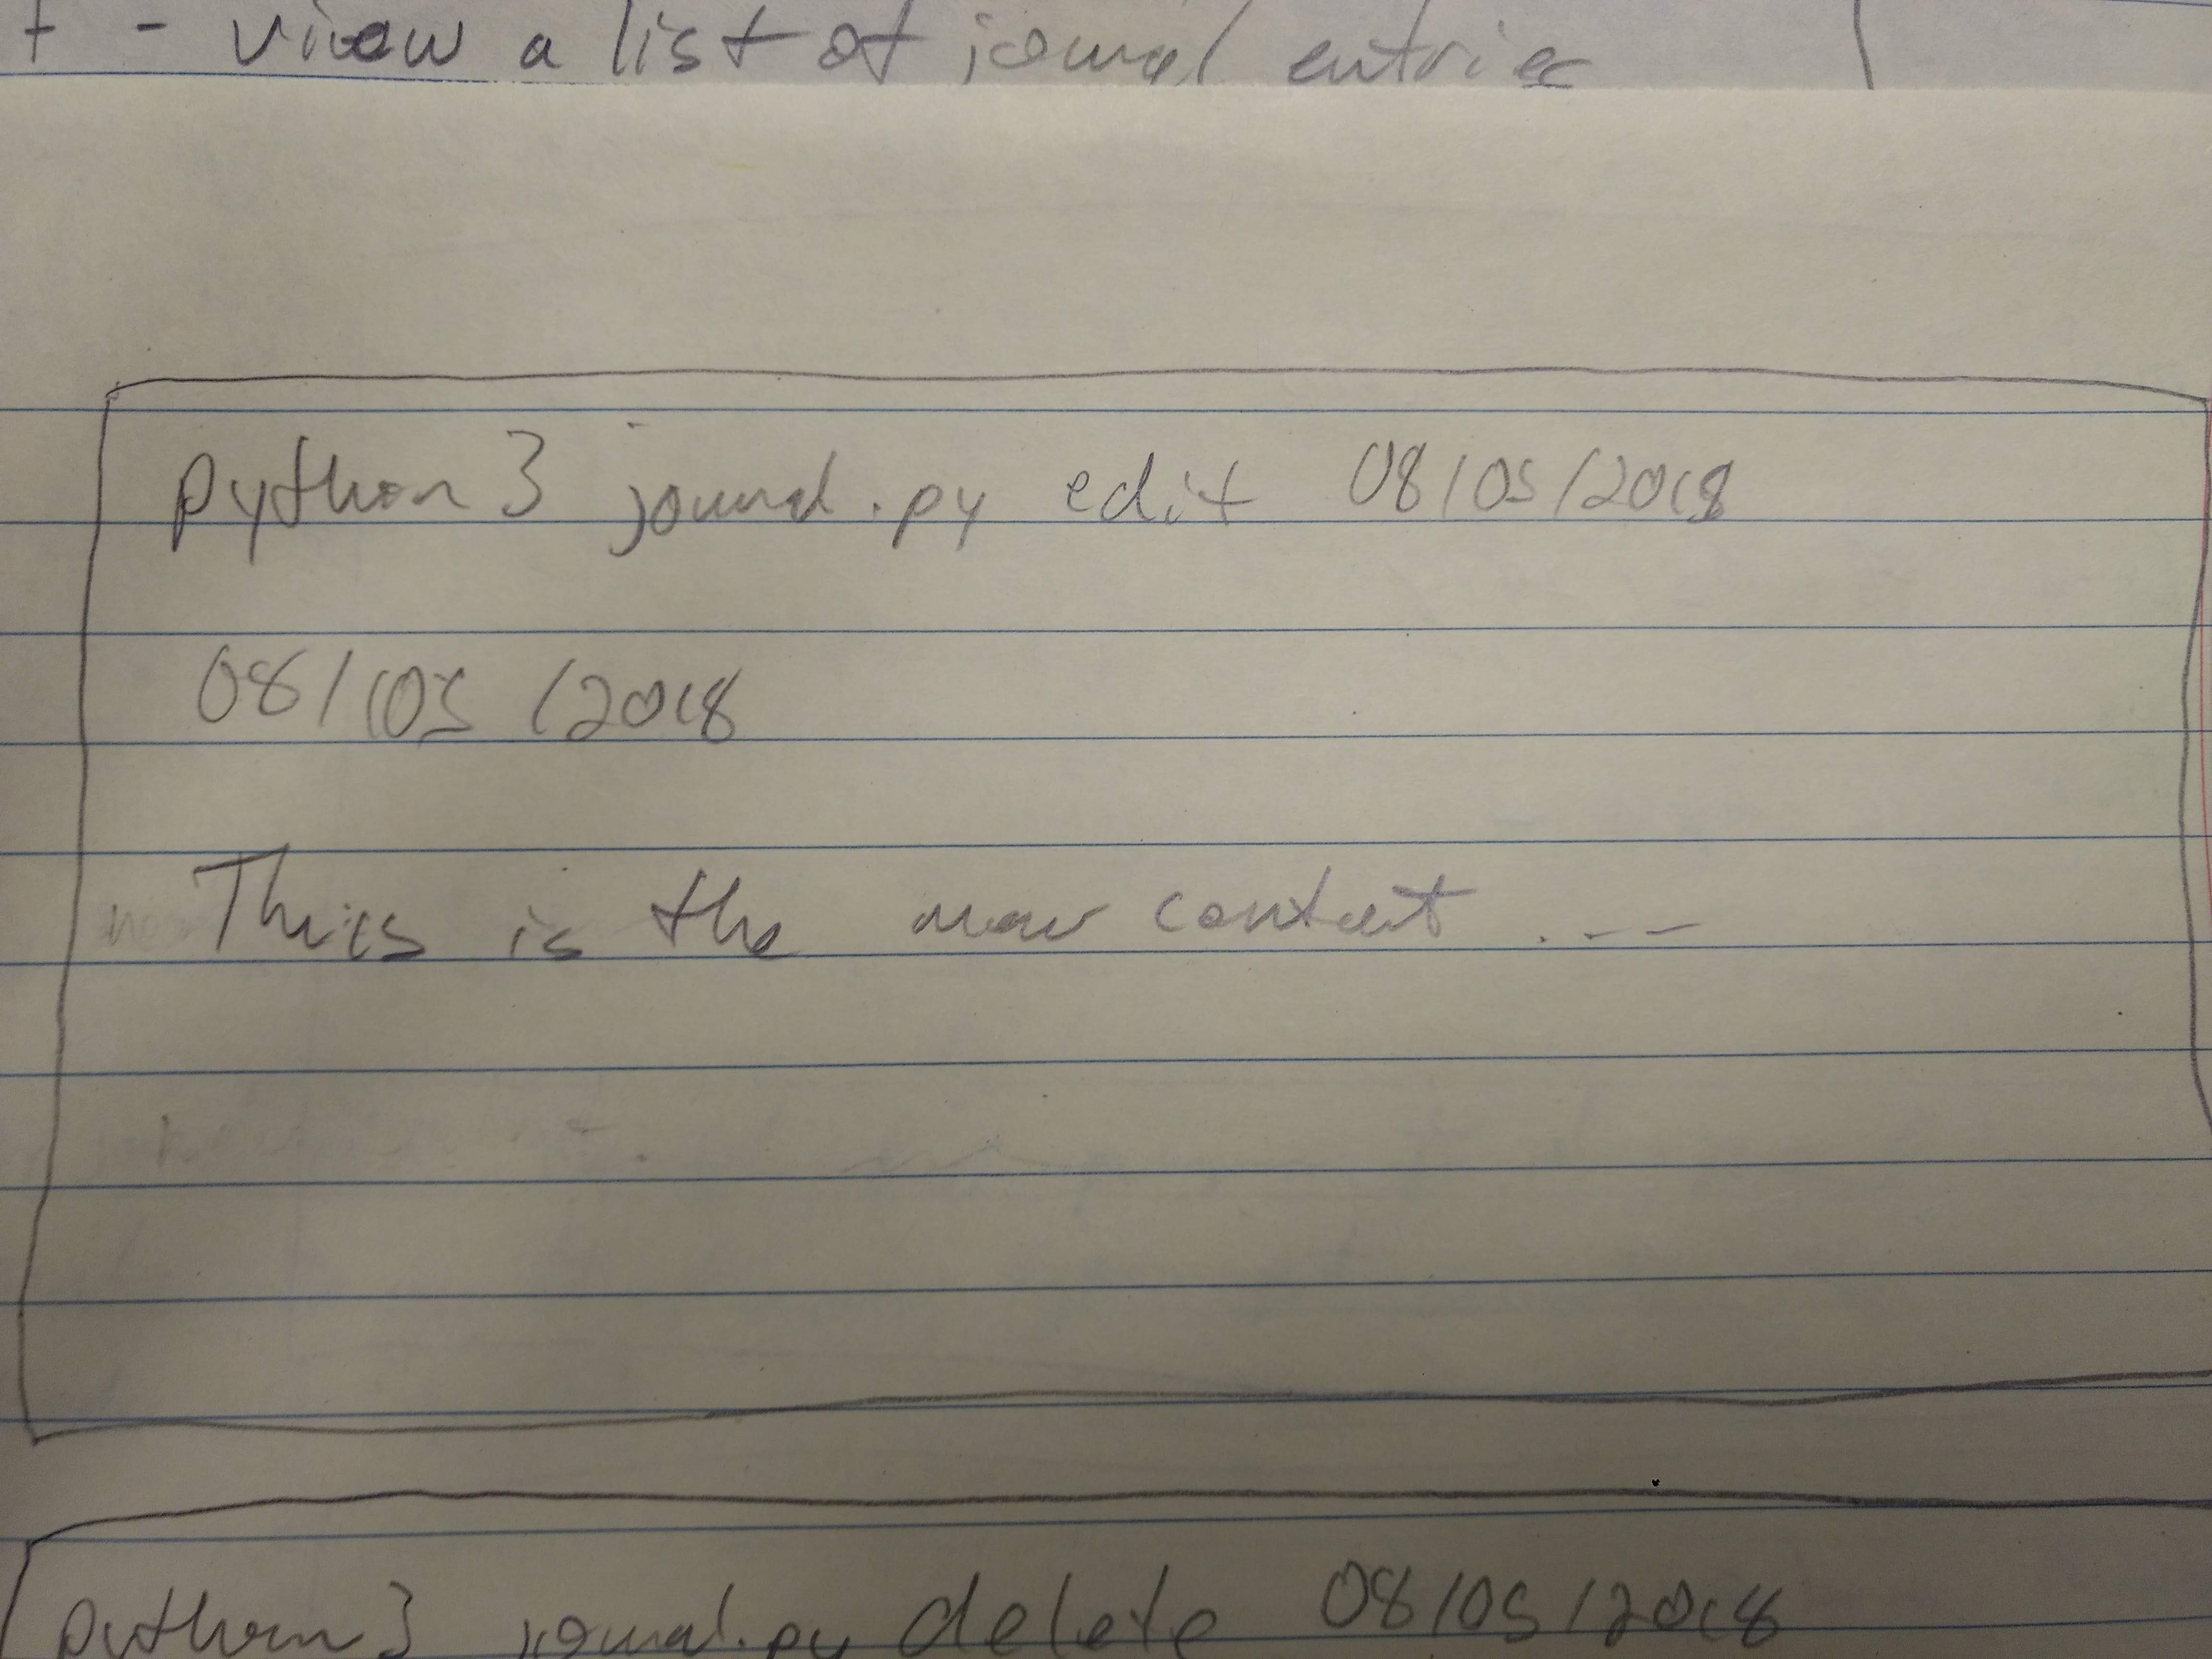
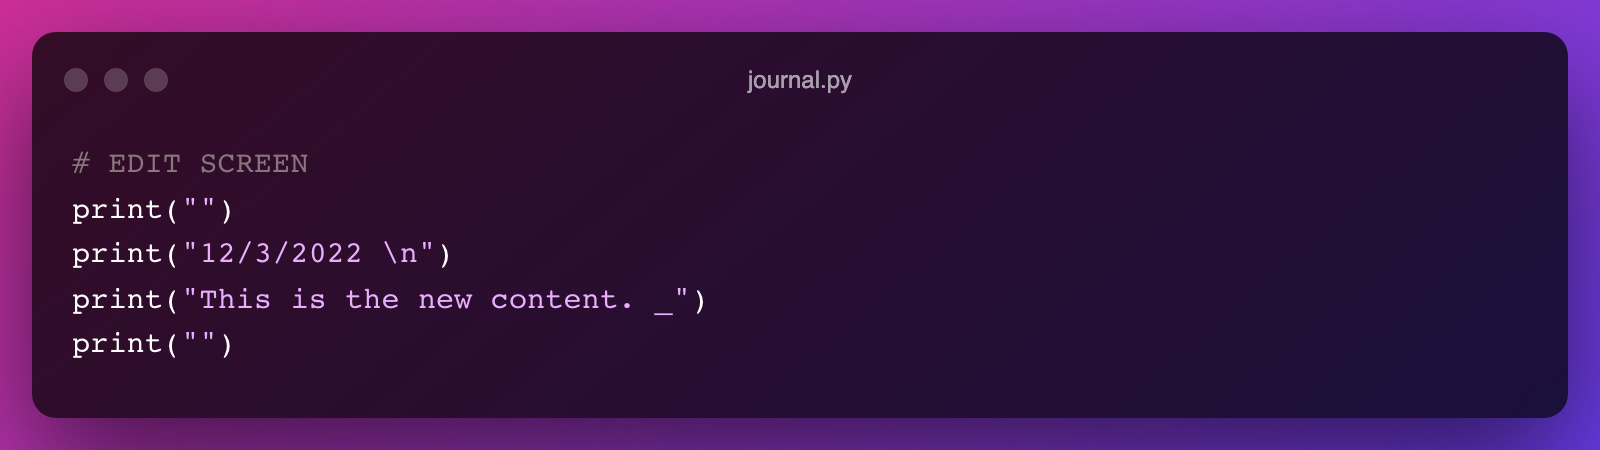
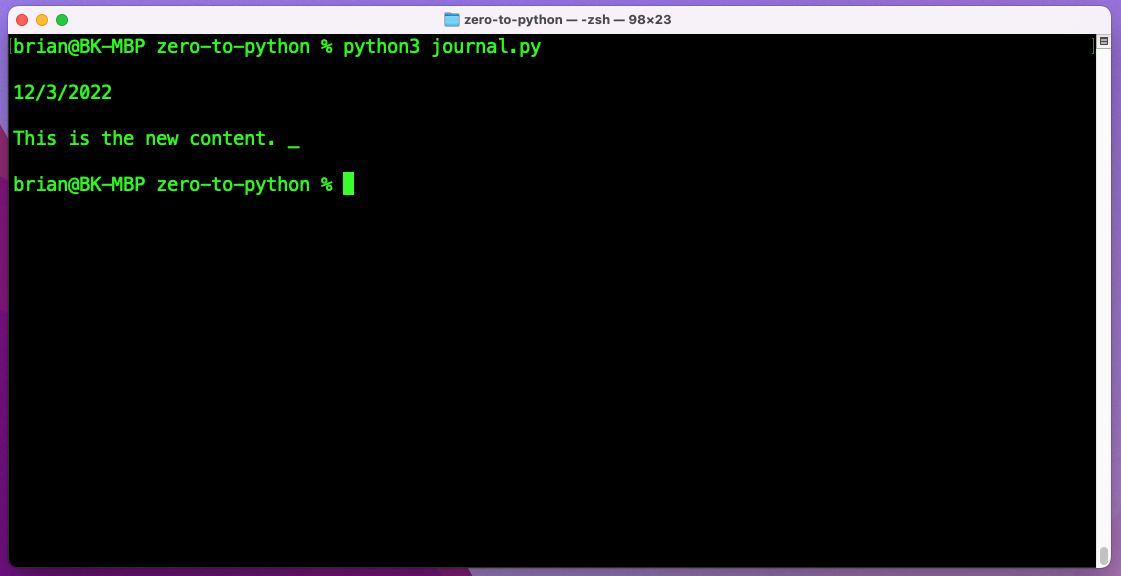
Edit Screen
Design:
Code:
Output:
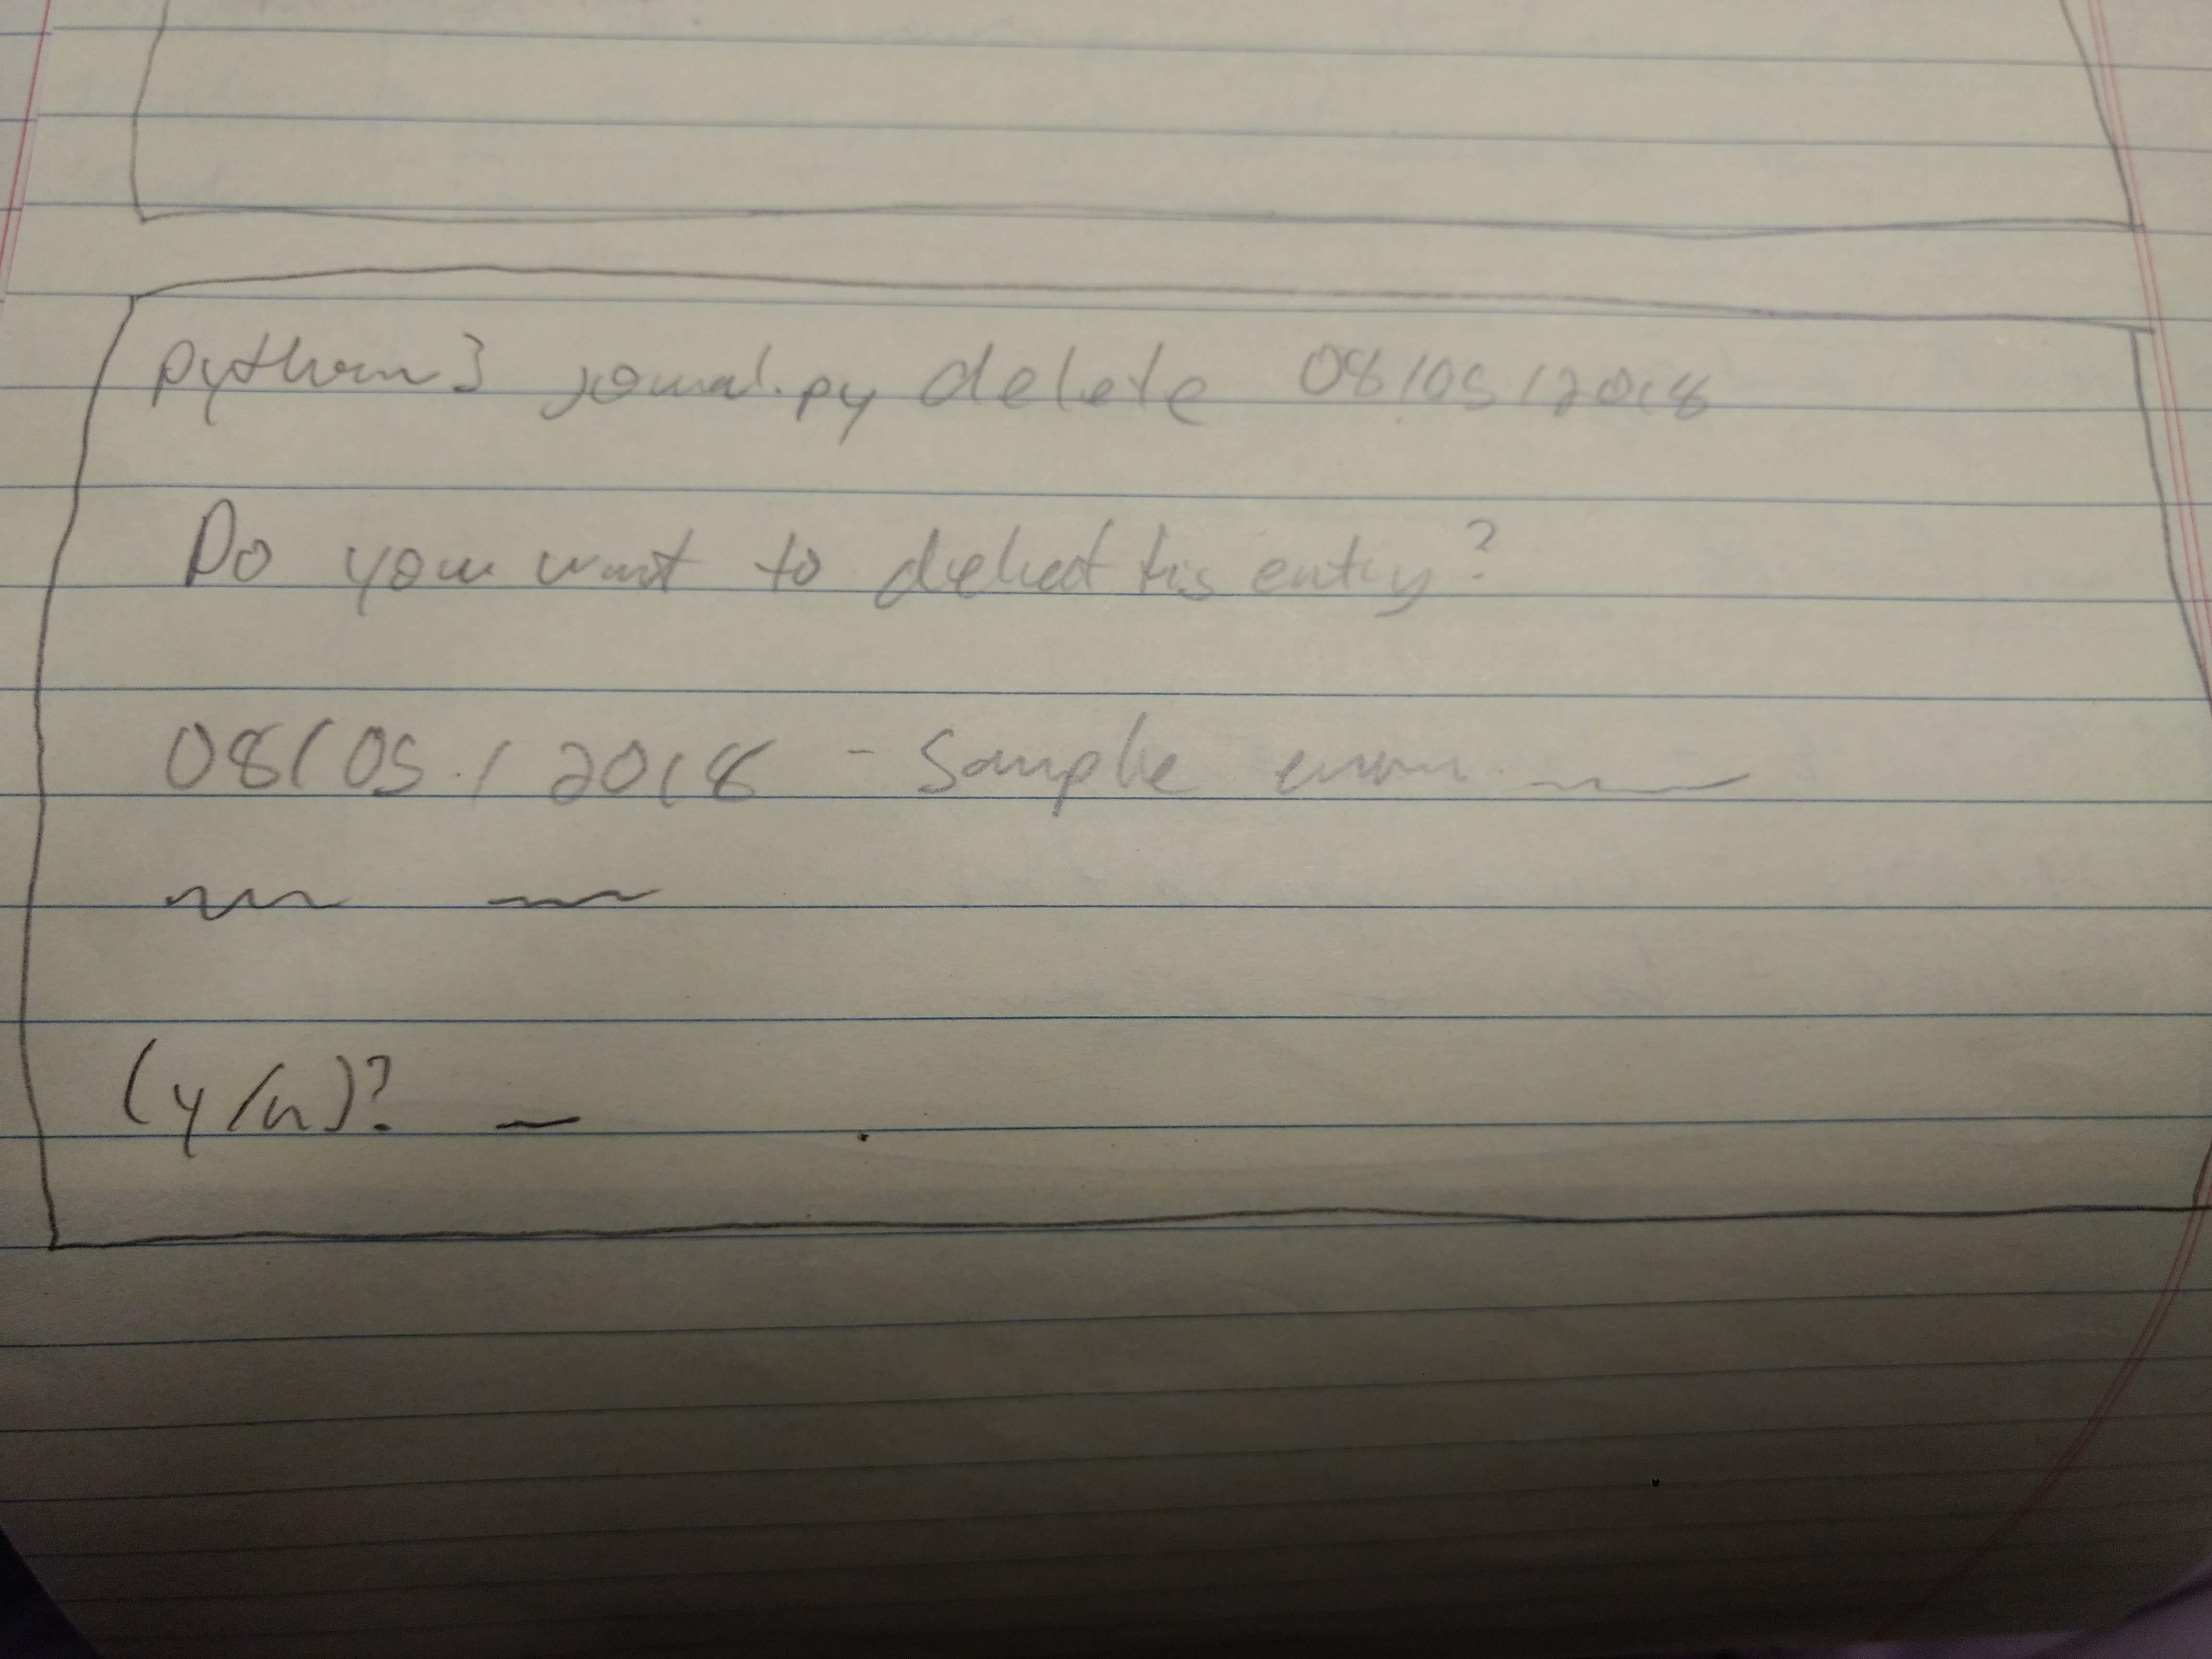
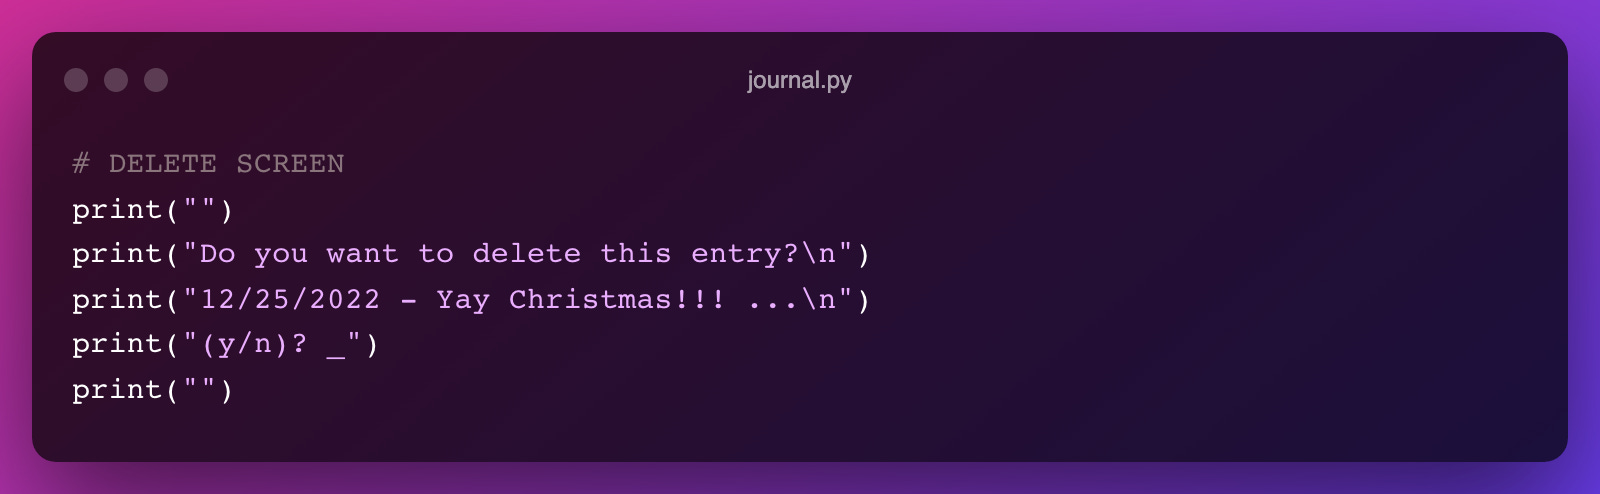
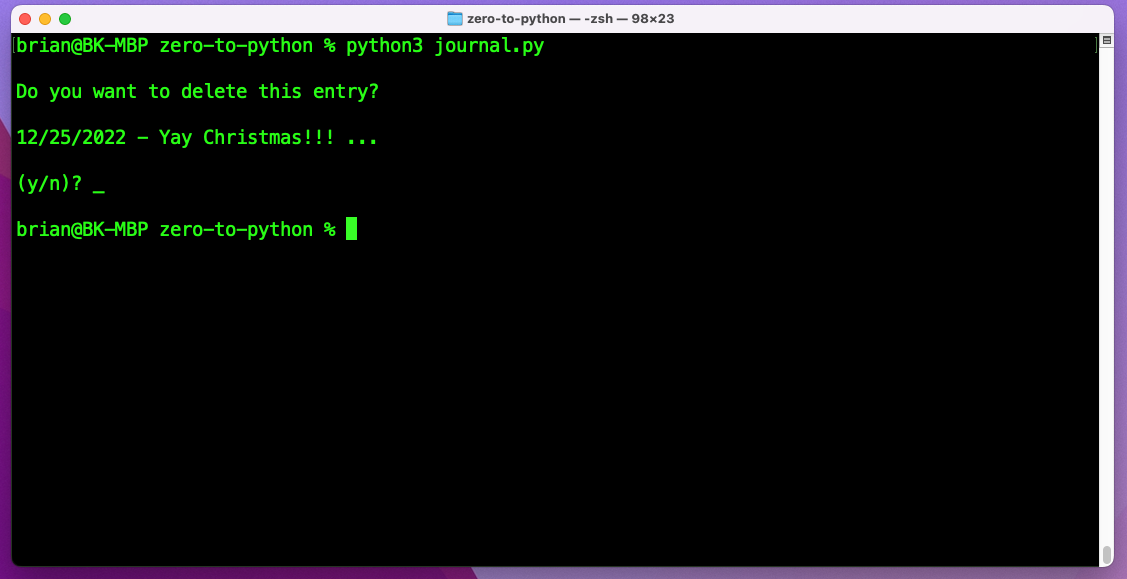
Delete Screen
Design:
Code:
Output:
Assignment
Build out each of the screens for the journal program. For now put them all in the journal.py file and comment them out as you go so you only view one at a time.
BONUS: You could play with putting each screen’s code in a different file and running them as separate files.
Useful Links
Wow, It Feels Real
Good job. Today you built a fake version of a real application. It feels like the real thing, even though it doesn’t do anything useful yet. You have made another big step forward. Tomorrow is going to be another useful step too, so I’ll see you then.
-Brian